
Schools today are not just buying books and boards. They are buying devices, apps, online lessons, testing tools, and support services that keep learning moving every day. But budgets are tight, and the choices can feel confusing. This guide turns the biggest spend trends into simple, clear stats you can use right away. Each stat below is a “budget truth” that shows how schools spend, why it happens, and what to do next so money does not leak out of your plan.
1) In many K–12 school systems, total EdTech spending often lands around $100–$400 per student per year
What this number really includes
When people hear “$100–$400 per student,” they often picture a single purchase, like a tablet. But this number usually covers many things that sit under the “EdTech” label.
It can include student devices, classroom apps, learning platforms, digital lessons, online testing tools, device management, and paid support. The spending may also include accessories like chargers and cases, plus repairs. So the first lesson is that this is not one cost. It is a full learning system.
How to use the stat to make better choices
Treat this range as a planning guardrail, not a goal. Start by calculating your own “per student” number using the same logic. Add every EdTech cost you can find, then divide by your student count.
Next, split your total into four simple parts: devices, software, digital content, and support. When you do this, most schools discover that one part is larger than they expected, and another part is too small to keep things running well.

Now connect spend to student results. For each major cost, write one clear outcome you expect. For example, “Students complete math practice three times a week,” or “Teachers can assign and track work in one place.” If you cannot name an outcome, that line item is a risk.
Finally, plan for stability. A school that spends $250 per student this year but forgets renewals may face a jump next year. Build a simple three-year view of costs so leaders are not surprised. If you want families to trust your choices, speak in outcomes.
Parents understand progress, not procurement. This is also why many families like Debsie: learning goals are clear, and the path is structured so the spend feels worth it.
2) For a typical K–12 district, EdTech costs are commonly about 2%–6% of the total operating budget
Why a small percentage still matters a lot
A 2%–6% share sounds small compared to staff pay, transport, or building costs. But it can drive daily learning more than many larger lines. One platform can shape how teachers teach, how students practice, how work is graded, and how progress is tracked.
When this slice is managed well, it saves time, reduces stress, and lifts student growth. When it is managed poorly, it creates chaos, tool overload, and wasted money.
How to keep this slice healthy and controlled
Start by setting a clear target band for your context. A district with older devices may need to sit near the top of the range for a few years. A district with a strong device base may stay closer to the middle and shift funds toward training and better content.
The key is to choose a band on purpose, then explain it in simple words so everyone understands why.
Next, protect the “invisible” parts of tech spending. Many budgets overpay for tools but underpay for rollout and training. The result is low use, poor results, and loud complaints. If a tool is important enough to buy, it is important enough to teach well.
Also, avoid buying in panic. Panic buying happens when a problem shows up mid-year and leaders rush to fix it with a new app. Instead, keep a short “needs list” that is reviewed monthly. When a need appears, you test against that list first. This prevents random purchases.
Finally, tie your spend to a simple set of student promises. Promise fewer things, but do them well. For example, promise that every student will have reliable access to core learning tools, that teachers will use one main system for assignments, and that families will see progress clearly.
When budgets get tight, these promises help you cut noise without cutting what matters.
3) Devices are usually the biggest single EdTech cost, often making up 30%–60% of the EdTech budget in 1:1 programs
Why devices take such a large share
In a 1:1 program, every student needs a working device, and that requirement is hard to “pause.” Devices also come with hidden add-ons. You may need cases, chargers, carts, hotspots for some homes, repair plans, and staff time to manage inventory. Even if the device price looks fair, the full cost can climb quickly if the program is not designed with care.
How to reduce device waste without hurting learning
First, match the device to the learning. A device should be chosen based on the daily tasks students must do, not based on brand trends. If most work is browser-based, you may not need premium specs. If students create videos or run coding projects, you may need more power for older grades.
Buying the wrong device leads to frustration and early replacement.
Second, design for long life. Many schools lose money because devices break early. A strong case, clear handling rules, and quick repair flow can protect thousands of dollars. Build a simple repair system that students and teachers can follow without confusion.

Slow repairs cause “extra device” buying, which is costly.
Third, manage your inventory like a library. Track what you own, who has it, and what condition it is in. When tracking is weak, devices disappear, sit unused, or are replaced too early.
Fourth, plan your spare pool. A small set of ready-to-go devices prevents learning from stopping when one breaks. The goal is smooth learning, not constant buying.
Finally, balance device spending with what makes devices useful. A device without strong learning content and teacher support is just an expensive screen. If your device share is near 60%, check if software, content, and training are being squeezed too hard. A balanced plan often improves results without increasing total spend.
4) Software subscriptions commonly take 20%–45% of EdTech spend, and this share has been rising over time
Why subscriptions keep growing
Schools used to buy many tools once and use them for years. Now, many tools are sold as monthly or yearly plans. This can be helpful because updates are included, support is easier, and schools can scale up or down.
But it also means costs do not end. A subscription is like a tap that keeps running. If you do not watch it, it quietly becomes your biggest leak.
Another reason the share rises is that schools stack tools. One tool for classwork, one for quizzes, one for reading, one for math practice, one for communication, one for tutoring. Each one seems “small” alone. Together, they create a heavy yearly burden.
How to control subscription spend and still meet needs
Start with a clean list of all subscriptions, including price, renewal date, number of licenses, and who owns the contract. Many schools do not have one complete list, which makes it easy for costs to hide. Next, add one more column: what problem does this tool solve. If you cannot state the problem in one simple line, the tool is a candidate for removal.
Then check overlap. Two tools often do the same job in slightly different ways. Overlap is common in quiz tools, reading tools, and classroom management apps. Pick one main tool per job, and phase out the rest. Do not cut overnight. Set a clear date and give teachers time to shift.
Now focus on use. If you pay for 2,000 seats but only 1,100 students use it, you are wasting money. Build a simple monthly check: active users versus paid seats. When usage falls, reduce seats at renewal. Also, negotiate. Many vendors can adjust price, especially if you can commit to a clear plan, reduce seats, or bundle.
Finally, treat renewals like a test. Before renewing, ask, “Did this tool improve learning in a way we can see?” If not, pause and pilot a better fit. Families and teachers trust spending when results are clear. And when schools cut the noise of too many tools, students often learn better because they are not switching platforms all day.
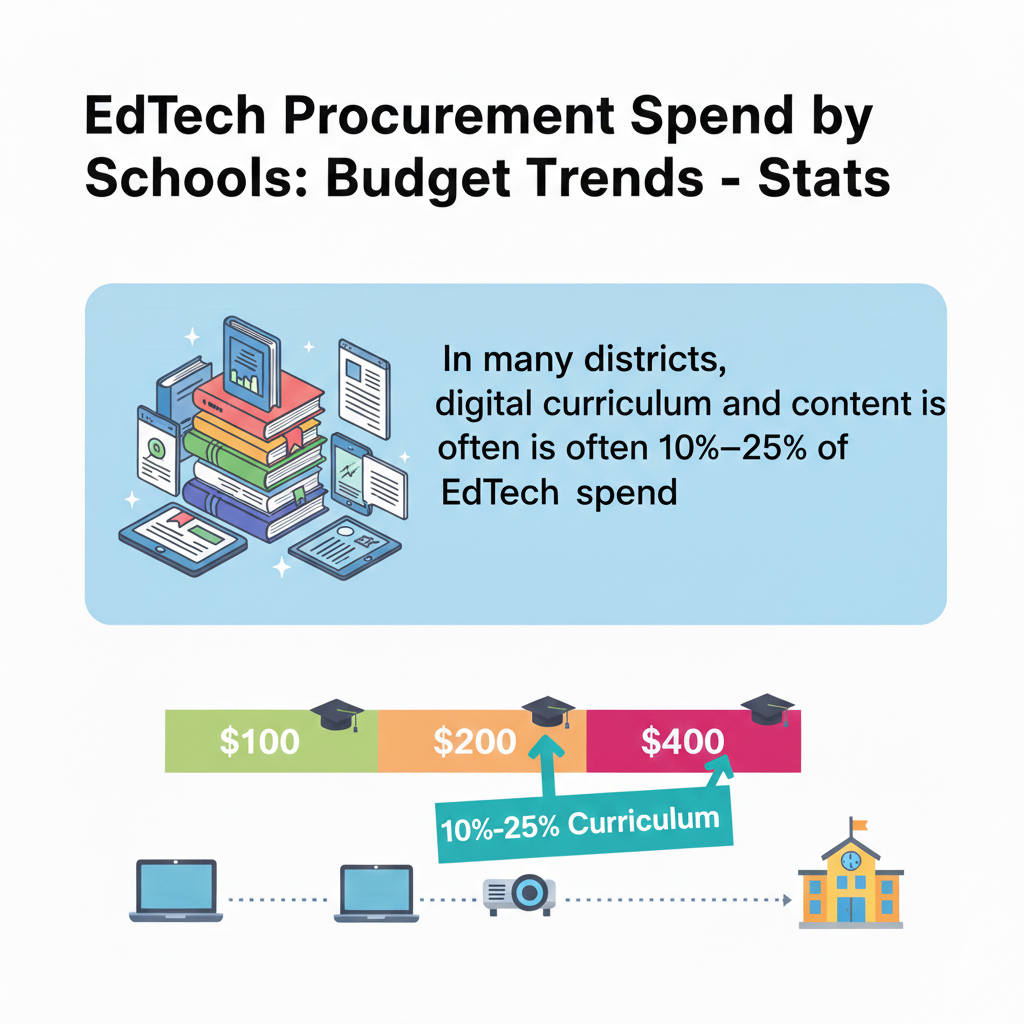
5) In many districts, digital curriculum and content is often 10%–25% of EdTech spend
Why content is different from tools
A tool is a container. Content is what students actually learn from. Schools sometimes spend big on devices and platforms, then try to save on content. That is like buying a new kitchen and cooking with poor ingredients.
Students need lessons that are clear, paced well, and matched to grade needs. Teachers need content that is easy to teach, easy to track, and not confusing for families.
Digital content can include online textbooks, interactive lessons, videos, practice sets, and full course programs. Good content reduces teacher workload because it provides structure. Weak content creates chaos because teachers must patch gaps every day.
How to get strong learning value from content spend
Begin with a simple content promise for each subject. For example, “Every student will get daily practice that adapts to their level,” or “Every unit will include clear lessons, practice, and a short check.” When you know the promise, you can judge content choices better.
Next, decide where you need full curriculum and where you only need supplements. Some schools buy full programs for math and reading, then only add small tools for science and coding. Others do the opposite. The key is to match needs.
If teachers are building everything from scratch, a stronger core program may save time and improve quality.
Also, check alignment with how teachers teach. If your teachers use small-group teaching, content should support it, not fight it. If your school uses project work, content should include projects, not just drills.
One powerful move is to pilot content with a small group before scaling. Ask students if it is clear. Ask teachers if it fits their day. Ask families if home practice is easy. Then buy with confidence.
For families who want structured, guided content at home too, Debsie can be a strong partner. The lessons are built to be engaging and clear, with real skill growth in STEM and coding, and the learning path is not random. That clarity is what schools should look for in any digital content purchase.
6) IT and implementation services often account for 5%–20% of EdTech spend, depending on how much is outsourced
Why “services” can be a smart spend
Services sound like overhead, but they often decide whether a tool succeeds. Implementation includes setup, rostering, integrations, device management, troubleshooting, training sessions, and ongoing support.
If you buy a powerful system but do not set it up well, teachers will struggle, and students will lose learning time. This is how schools end up saying, “The tool was bad,” when the real issue was rollout.
Services also rise when districts do not have enough internal staff. Outsourcing can fill gaps and keep learning stable. The risk is paying for services that are not clearly defined or not tied to outcomes.
How to buy services that actually work
Start by writing a simple success plan before signing a contract. It should include who will do the setup, what “go-live” means, how teachers will be trained, and what support looks like after launch. Ask vendors to name the exact hours, tasks, and timelines. Vague promises lead to poor results.
Next, separate “one-time setup” from “ongoing support.” A lot of waste happens when schools keep paying for setup-like work every year. Once systems are stable, ongoing support should become lighter.
Also, measure service quality. Track how long it takes to solve tickets, how many training sessions happen, and whether teacher use increases after training. If services do not move these numbers, they are not doing their job.
If your services share is near 20%, check why. It may be because you are running too many platforms, each needing its own support. Reducing tool count can reduce service spend without reducing learning.
Finally, invest in internal capacity. Train a small group of “school champions” who can handle basic issues and coach others. This lowers reliance on outside help and builds confidence in staff. When teachers feel supported, tool use rises, and the money you spend on EdTech starts to show up as real learning gains.
7) For districts running 1:1 programs, a common planning rule is a 3–5 year device replacement cycle for student laptops and tablets
Why replacement timing affects the whole budget
A device plan is not a one-time event. It is a repeating rhythm. When schools ignore the replacement cycle, they end up with a large group of aging devices that fail at the same time. Then leaders are forced into emergency buying, which often costs more and delivers less.
A 3–5 year cycle is common because it balances cost with reliability. Shorter cycles can be too expensive. Longer cycles can lead to slow devices, battery failure, and a rise in repair costs that quietly eats the savings.
The best cycle depends on how devices are used. A device used daily for many hours, carried home, and used by younger students may wear out faster. A device used only in class and stored carefully can last longer.
How to plan a cycle that keeps learning steady
Start by choosing one clear cycle for each device type and grade band. For example, you might use a four-year cycle for middle school laptops and a five-year cycle for high school laptops, while using a longer cycle for carts that stay in class.
The goal is to avoid one giant replacement year. Instead, stagger purchases so only a portion of devices are replaced each year. This makes budgets calmer and reduces disruption.

Next, build a simple health check each semester. Track battery health, break rates, and slow performance reports. When you see the curve rising, you can plan the next refresh early, not late.
Also, create a second-life plan. Devices that are too old for heavy student work may still be fine for lighter use, testing days, or staff needs. A structured hand-me-down flow can stretch value without hurting learning.
Finally, lock in long-term thinking when you buy. Ask for pricing that supports your cycle, and make sure the device you choose can handle your learning tools for the full term. If students will do coding, video projects, or advanced STEM work, do not under-buy and then pay later through early replacement.
A calm, planned cycle keeps classrooms focused on learning, not on “my device does not work.”
8) A typical student laptop purchase price for schools is often roughly $250–$450 per device, while tablets are commonly $200–$350 per device
Why the sticker price is not the full price
The purchase price is only the front door. Schools often forget what follows: cases, chargers, device management, warranties, repairs, and staff time. A laptop that costs $300 can end up costing much more if it breaks often, is hard to manage, or needs special adapters.
A tablet may cost less but could require add-ons like keyboards to support writing. So the smart move is to focus on “total cost over time,” not just what appears on the quote.
The right device choice also depends on learning tasks. If students mostly read, watch lessons, and do simple practice, a tablet may work well. If they type often, use spreadsheets, create presentations, or code, a laptop may be a better fit.
How to buy devices with fewer regrets
Start by listing the top five things students will do weekly on the device. Not what they “might” do, but what they will do. Then test devices against that list with real students and teachers. Small pilots reveal big issues, like weak keyboards, poor battery life, or lag during key apps.
Next, require clear warranty terms and a repair path. Ask how long repairs take, where devices are serviced, and what happens if a part is out of stock. Slow repairs can force schools to buy extra devices as backups, which raises cost.
Also, standardize models when possible. Managing many different models increases support time and causes confusion with chargers and parts. Standardization often saves money without lowering learning quality.
Finally, set simple rules for accessories. Cases and chargers are not optional in most 1:1 programs. A strong case reduces breakage. Extra chargers at school reduce “I cannot work today” moments. Buying smart accessories can protect the larger device investment.
9) Many districts budget $20–$60 per student per year for core learning software bundles, with higher totals when many tools are used
What a “core bundle” usually includes
A core software bundle is the set of tools students and teachers use most days. It often includes a learning management system, classroom workflow tools, communication tools, and a few key learning apps.
When the bundle is clear and consistent, teachers spend less time teaching tech and more time teaching lessons. Students also feel calmer because they know where to find work and how to turn it in.
The trouble starts when the “core” is not truly core. Some districts say they have a bundle, but then each school adds more tools. Costs rise, and learning becomes messy. Students jump between platforms, passwords, and different ways of doing the same task.
How to build a core bundle that stays lean and strong
Start by naming your “must-have” jobs. For example, assignments, grading, feedback, practice, and simple checks for understanding. Then pick one tool for each job. If one platform can do two jobs well, even better. The goal is fewer tools that are used deeply.

Next, define what “core” means in policy. If a tool is core, it must be trained, supported, and used across classrooms in a consistent way. If it is not core, it should go through a clear approval process and prove value before it spreads.
Also, watch for hidden growth. A $30 per student bundle can become $70 if schools add extra reading tools, quiz tools, and homework tools. Keep one shared dashboard of all paid tools so leaders can see the true picture.
Finally, make the bundle easy for families. When parents can see assignments and progress without confusion, trust increases. This is the same reason many families prefer a structured learning hub like Debsie for STEM and coding: one clear place, guided learning, and steady progress, without tool overload.
10) Renewals dominate buying: in many districts, 60%–85% of EdTech purchasing decisions each year are renewals of existing tools, not brand-new tools
Why renewals quietly control the budget
Most school tech buying is not exciting “new tool” work. It is renewal work. That means the real budget battle is often fought in contracts signed years ago. Renewals feel easy because the tool is already in place, teachers know it, and switching can feel risky.
Vendors also know this. When a tool becomes part of daily routines, it becomes harder to remove, even if it is not delivering strong results.
The danger is “auto-renew by habit.” A district can keep paying for tools that are only lightly used, not well liked, or no longer needed. Over time, renewals can crowd out better options and block innovation.
How to turn renewals into smart decisions, not automatic ones
Create a simple renewal calendar that is visible to leaders, IT, and curriculum teams. If you discover a renewal one week before it happens, you have no power. If you see it three months early, you can evaluate, negotiate, or replace.
Before renewing, ask three plain questions. Are teachers using it weekly. Are students using it weekly. Can we show a learning gain or time saved. If the answer is unclear, do not renew at full scale. Either reduce seats or run a short “prove it” period.
Also, treat renewals like performance reviews. Ask for usage data from the vendor, not just stories. Compare usage across schools and grades. If only one grade uses it well, pay for that grade only. Many districts save meaningful money by right-sizing renewals instead of cutting tools completely.
Finally, negotiate with calm strength. Vendors will often offer better terms when they know you have time to switch. Even small changes, like moving to a multi-year price cap or adjusting license counts, can protect your budget for years.
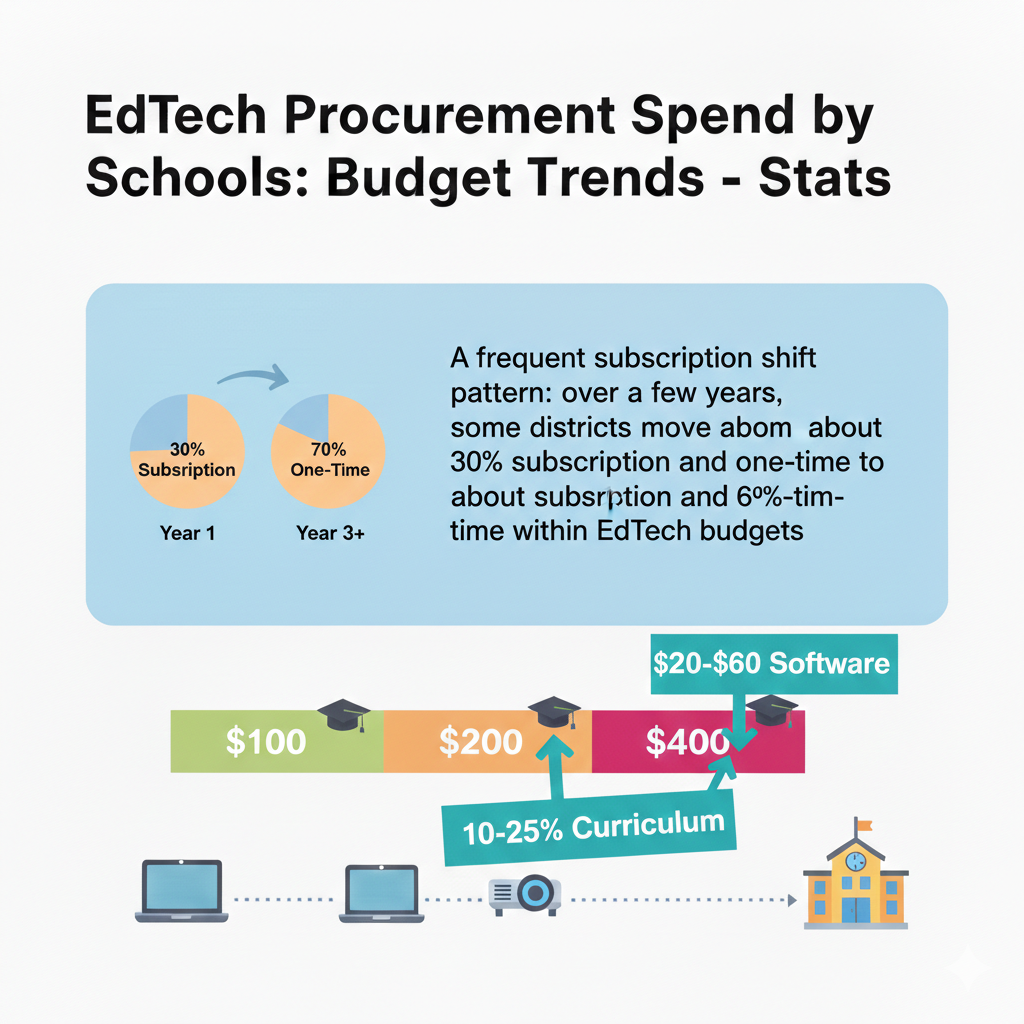
11) A frequent subscription shift pattern: over a few years, some districts move from about 30% subscription and 70% one-time to about 60% subscription and 40% one-time within EdTech budgets
Why the mix is changing
This shift happens because software companies prefer steady yearly revenue, and because cloud tools update constantly. Schools also like subscriptions because they avoid big upfront buys and get new features without waiting.
The problem is that subscriptions turn the budget into a permanent commitment. When many tools are subscription-based, it becomes harder to “pause spending” in a tough year. Costs keep coming even if funding drops.
This change also increases long-term risk. A tool that starts at a low price may rise over time. A school that depends heavily on the tool may feel trapped.
How to manage a subscription-heavy future without losing control
First, separate “core subscriptions” from “nice-to-have subscriptions.” Core means learning would break without it. Nice-to-have means learning would still work with another method. When budgets tighten, this line matters.
Second, demand clear terms that protect you. Ask for price increase limits, clear renewal dates, and the right to reduce seats. Avoid contracts that lock you into high minimums that no longer match your student count.
Third, build an exit plan before you buy. This sounds harsh, but it is healthy. Ask, “If we leave this tool next year, what will we use instead, and how hard will it be to move data?” If the answer is “we have no idea,” you are taking a bigger risk than you think.
Fourth, keep one-time spending alive on purpose. One-time buys like devices and network upgrades are still needed. If subscriptions grow too large, schools may delay hardware refresh and then pay even more later through emergency replacement. A balanced plan protects learning now and later.
12) In many procurement plans, professional development tied to EdTech is often funded at only 1%–5% of the EdTech budget, even though training needs are large
Why under-training wastes the rest of the spend
A tool does not improve learning by itself. People improve learning. When training is weak, teachers use only the simplest parts of a tool, or they avoid it completely. Students get mixed experiences across classes. Families get confused.
Leaders then conclude the tool “did not work,” when the real issue was that no one was supported to use it well.
Under-training also increases support tickets. Small user mistakes become big problems when there is no clear guidance. That pushes costs into IT time and vendor support.
How to fund and deliver training that actually sticks
Start by treating training as part of the product, not an extra. When you buy a tool, you are also buying the change it creates in classroom routines. Budget for that change. Even a small increase in training investment can unlock far more value from the same tools.
Make training practical and short. Teachers do not need long speeches. They need “how to run tomorrow’s lesson using this tool.” Focus training on the weekly actions that matter: setting up classes, giving assignments, giving feedback, and checking progress.
Use a simple coaching model. Train a small group of teacher leaders deeply, then let them support peers in real classrooms. This builds trust faster than outside training alone. Also, give teachers ready examples they can copy, not blank templates they must build from scratch.
Finally, measure training success by behavior, not attendance. Ask, “Did usage increase after training?” If not, adjust the approach. When training is done well, schools often reduce tool count, improve consistency, and raise student learning without increasing total EdTech spend.
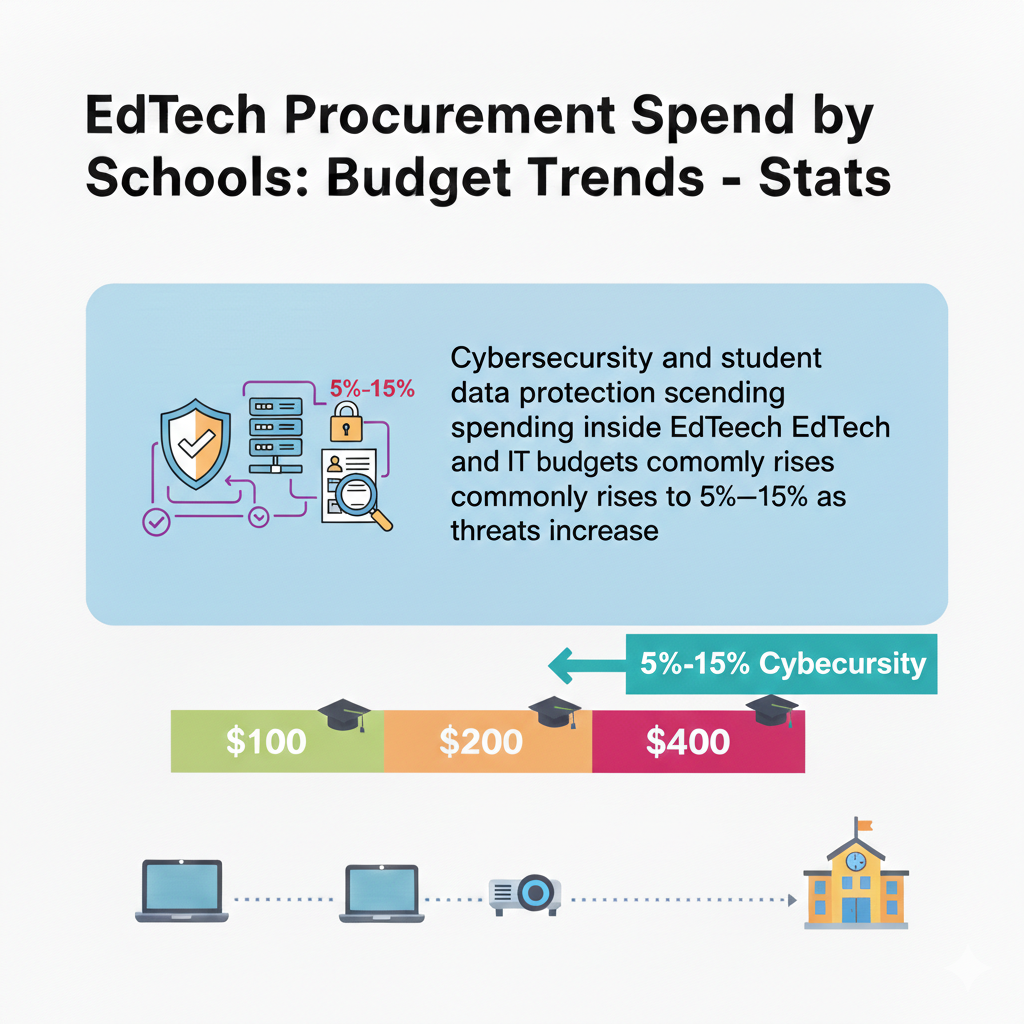
13) Cybersecurity and student data protection spending inside EdTech and IT budgets commonly rises to 5%–15% as threats increase
Why safety spending is now a core need
School systems hold sensitive data: student names, grades, health needs, addresses, and sometimes family details. When schools add more apps and cloud platforms, the number of “doors” into that data increases.
Cyber threats are not just a big-company problem anymore. Schools are targets because they often have tight staffing and many users. A single weak password or unsafe app can create serious trouble.
Cybersecurity spending often grows because districts must improve identity systems, monitoring, backups, and training. It also grows when contracts start requiring stronger safeguards and audits.
How to spend on protection without wasting money
Begin with a simple map of your risk. List the systems that store the most sensitive student data. Then list who can access them. The biggest wins often come from reducing access, tightening logins, and removing old accounts. This can cost little but reduce risk fast.
Next, simplify your tool ecosystem. Every extra tool is another place data can leak. When you reduce tool count and standardize platforms, you reduce the attack surface. This is a budget move and a safety move at the same time.
Also, require clear data terms in every vendor contract. Ask where data is stored, how it is encrypted, how long it is kept, and how it is deleted when you leave. If the vendor cannot explain these points in simple language, that is a warning.
Do not ignore human habits. A small part of cybersecurity spend should support staff and student training. Short, clear lessons about passwords, phishing emails, and safe sharing prevent many problems.
Finally, plan for recovery. Good backups, tested regularly, can save a district from long downtime. The goal is not to be perfect. The goal is to be ready, reduce risk, and protect students with calm systems that work in the real world.
14) Districts often carry dozens to hundreds of education apps: a common range is 50–300 tools used across schools, with only a smaller set officially approved
Why tool overload happens so easily
Tool overload often starts with good intentions. A teacher finds a useful app for one need. Another teacher finds a different app for the same need. Schools add tools during special projects, grant periods, or urgent moments.
Over time, the district ends up with a crowded tech “closet” full of tools that overlap. Some are paid. Some are free but still collect data. Many are not used consistently.
Too many tools create real harm. Students must learn many logins and workflows. Teachers waste time switching systems. Families get lost. IT teams cannot support everything. Leaders cannot see where money is going.
How to shrink the app list without upsetting everyone
Start by making the list visible. Many districts do not know their true tool count. Pull data from single sign-on systems, network logs, and teacher surveys. Then group tools by purpose, like quizzes, reading practice, math practice, communication, and class management.
Next, pick one primary tool per purpose for the whole district, when possible. Explain the reason clearly: consistency for students, less confusion for families, and better support for teachers. This is not about controlling teachers. It is about creating a stable learning experience.
Then build a clear approval path for new tools. Make it simple and fair. Ask what need the tool meets, what data it collects, and how success will be measured. If the tool cannot show value, it should not spread.
Finally, support teachers through the change. When you remove tools, provide a replacement path and quick training so teachers do not feel abandoned. The reward is big: fewer tools often leads to deeper use of the best ones, better results, and a cleaner budget.
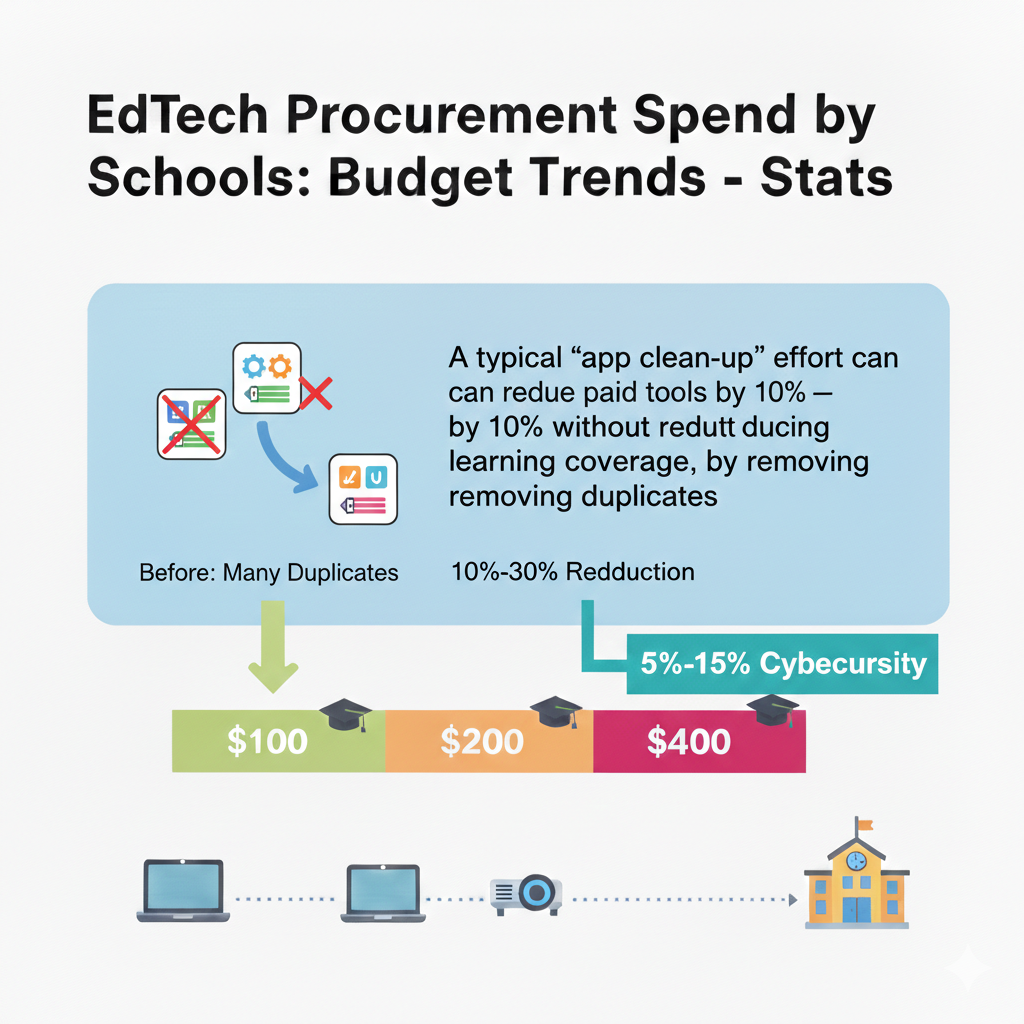
15) A typical “app clean-up” effort can reduce paid tools by 10%–30% without reducing learning coverage, by removing duplicates
Why clean-ups often find easy savings
When districts finally review their tool list, they often discover two or three tools doing the same job. They may also find tools bought for a pilot that never scaled, or tools that were popular once but are now rarely used. Because these costs are spread across many small contracts, the waste can hide in plain sight.
A clean-up works because learning needs are usually stable. Students still need reading, math, writing, practice, and feedback. The goal is not fewer learning supports. The goal is fewer overlapping products.
How to run a clean-up that keeps trust and keeps learning strong
Step one is to define what “duplicate” means. If two tools both give quizzes, they are duplicates unless one provides a unique feature the district truly uses. Be honest. A feature that sounds nice but is never used is not a reason to keep a tool.
Step two is to use evidence. Pull usage data and pair it with teacher feedback. A tool that is loved but barely used needs a closer look. A tool that is used a lot but disliked also needs attention, because it may be used only because there is no alternative.
Step three is to plan a clean exit. Avoid sudden cuts that disrupt classrooms mid-year. Choose a transition window, set a last-use date, and provide quick guides for the replacement tool.
Step four is to lock in savings. After you cut duplicates, prevent them from returning by tightening procurement rules and requiring that all new buys map to a clear need and a clear owner.
This kind of clean-up frees money for what truly helps students: stronger content, better training, more reliable devices, or targeted support programs that show real growth.
16) In many districts, the top 10 vendors by contract size can represent 50%–80% of total EdTech spend due to vendor concentration
Why a few vendors take most of the money
Even if a district uses 100 tools, only a handful usually take the biggest share. These are often the “system” tools: the learning platform, the device provider, the testing system, the student information link, and the main digital curriculum program. Because these tools sit at the center of daily work, contracts grow large and renewals become almost automatic.
Vendor concentration can be good when it creates consistency and lowers support needs. But it can also be risky. If one vendor raises prices, changes terms, or fails to perform, the district feels stuck. When too much depends on a few vendors, bargaining power drops.
How to manage big vendors with clear control
Start with a simple “top vendor review” twice a year. For each major vendor, track what you pay, what you get, and what success looks like in real classroom terms. This should not be a long report. It should be a practical check: are teachers using it, are students benefiting, and is support acceptable.
Next, reduce dependence where it is easy. If one vendor provides five features but you only use two, ask for a plan and price that matches real use. Sometimes a vendor bundle includes tools you do not need. Unbundling can save money.
Also, protect yourself through contract terms. Ask for clear service levels, clear data rules, and clear renewal deadlines. Avoid being surprised by auto-renew clauses. Keep your exit options open by ensuring you can export data in a usable way.
Then build healthy competition. Even if you cannot switch today, you can run pilots of alternatives in small groups so you know what options exist. Vendors negotiate more fairly when they know you have choices.
Finally, do not let “big vendor comfort” block better learning. A large vendor may be stable but not always best for every learning need. Use big vendors for the core, but stay open to smaller, proven tools where they create clear student gains.
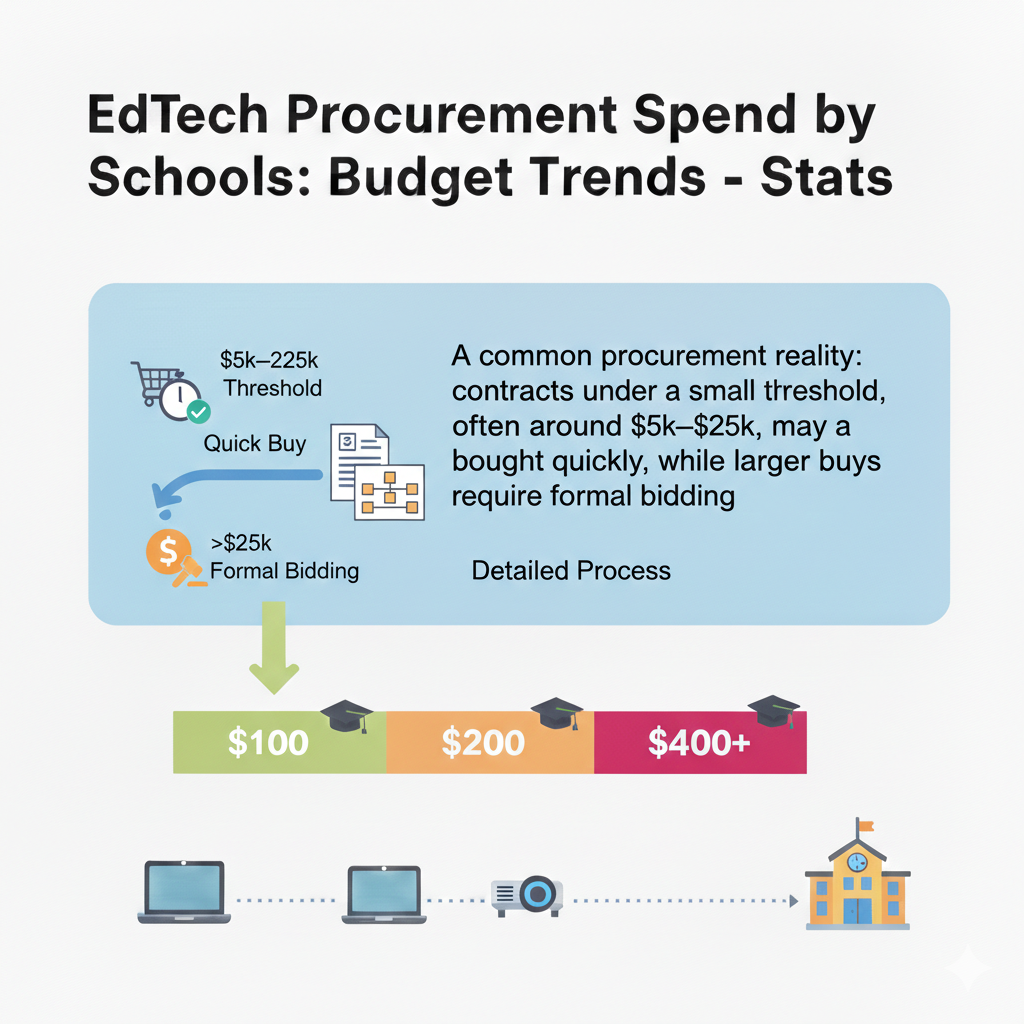
17) A common procurement reality: contracts under a small threshold, often around $5k–$25k, may be bought quickly, while larger buys require formal bidding
Why thresholds shape what schools end up buying
Procurement rules exist to protect public funds. Small buys are often easier because they take fewer approvals. Large buys take longer and require bids, comparisons, and legal review. This creates a pattern: schools may buy many small tools quickly while delaying big, strategic decisions.
Over time, this can lead to a messy tool landscape where the “quick buys” multiply.
The threshold system can also create an unintended behavior: splitting needs into smaller purchases to avoid a longer process. That can cause poor planning and higher total cost.
How to use procurement rules to your advantage
First, plan early. If you know a major contract is coming, start the evaluation months ahead. Formal bidding is not a problem when you have time. It becomes a problem when you are rushed.
Second, create a simple “fast lane” standard for small buys. Even if the rule allows quick purchase, you should still require basic checks: data safety, clear learning purpose, and a named owner responsible for results. A quick purchase should not mean a careless purchase.
Third, bundle similar needs where appropriate. If you need a reading tool across many schools, do not let each school buy its own. A district-wide plan can secure better pricing, better support, and better consistency for students.
Fourth, teach school leaders how the thresholds work. When principals understand the process, they can request purchases at the right time and avoid mid-year emergencies.
Good procurement is not slow by nature. It is careful by nature. With early planning, it becomes both careful and efficient.
18) Large EdTech buys often take 3–9 months from “we need it” to “students can use it” because of pilots, approvals, and contract steps
Why time is a hidden cost
The cost of EdTech is not only money. Time is a cost too. When implementation takes months, teachers may lose a full term of learning benefits. Students may struggle through an old system longer. Leaders may feel pressure to skip steps.
But skipping steps creates new problems: poor setup, weak training, and low adoption.
The 3–9 month reality comes from needed work: testing the tool, checking data rules, setting up integrations, training teachers, and ensuring support. This timeline is not a failure. It is a sign that a district is taking change seriously.
How to shorten the path without cutting quality
Start by building a repeatable playbook. Many districts treat each new tool as a new project. Instead, create a standard process: needs definition, shortlist, pilot, data review, contract review, setup, training, launch, and follow-up. When you repeat the same process, it gets faster.
Next, pilot with purpose. A pilot should answer a few clear questions, not dozens. For example, does the tool improve weekly practice, does it fit teacher workflow, and does it work smoothly with your existing systems. Keep pilots small but real.
Also, prepare your data early. Rosters, class lists, and logins are often the slowest part. If your student information link is messy, it will slow every launch. Fixing this “plumbing” is one of the best long-term investments.
Then schedule training close to launch. Training done too early is forgotten. Training done during launch is used immediately.
Finally, communicate the timeline to teachers and families in plain words. When people know what to expect, trust rises and frustration drops. A calm timeline often leads to stronger adoption, which protects the money you spend.
19) Districts frequently expect multi-year contracts for major platforms; a common term is 1–3 years, with renewal options
Why multi-year deals are common
Large platforms are hard to switch quickly. They touch class setup, logins, student data, and daily teaching routines. Because of this, schools often sign 1–3 year contracts to gain stability and predictable pricing. Multi-year deals can also reduce yearly procurement work and may come with discounts.
But multi-year contracts can become a trap if the tool is not delivering. The longer the term, the more important it is to set clear expectations and protect your ability to adjust.
How to sign multi-year contracts without locking yourself in
Start by defining what “success” means before you sign. It should be written in simple terms, like “80% of teachers use the platform weekly” or “students complete assigned practice at least twice a week.” If success is not defined, it is hard to hold anyone accountable.

Next, build in flexibility. Ask for the right to reduce license counts if enrollment changes or if usage drops. Ask for clear renewal notice dates so you can evaluate in time. Also ask for a fair exit path if the vendor fails to meet agreed service levels.
Then protect your data. Multi-year contracts should clearly state how you can export student work and records. If leaving would mean losing years of learning data, the district loses leverage.
Also, avoid buying too much upfront. If you are unsure, start with a smaller scope for the first year, then scale in year two. This lowers risk while still building a stable plan.
Finally, schedule a mid-contract review, not just an end-of-contract review. Waiting until the last month is too late to fix adoption. A mid-point check helps you adjust training, fix setup issues, and confirm that the tool is earning its cost.
20) Many school systems target 90%–98% device availability during the school year, meaning they plan spares and repairs so most students always have a working device
Why availability matters more than ownership
Owning devices is not the same as having devices ready to learn. A district may have enough devices on paper, but if many are broken, missing chargers, or stuck in repair, students still lose learning time. Availability is the real measure.
When availability is high, teachers can plan lessons with confidence. When it is low, teachers stop relying on digital work, which wastes the investment.
A 90% availability target means one out of ten students may face device issues on a given day. A 98% target is much stronger, but it requires tighter systems.
How to raise availability without buying a lot more devices
Start with a clear repair process that is fast and simple. Students and teachers should know exactly what to do when a device fails. If reporting is confusing, broken devices sit unused for weeks. Speed matters.
Next, maintain a small pool of loaner devices at each school. Loaners prevent learning from stopping while repairs happen. The loaner pool should be tracked carefully so it does not become a “lost device” pile.
Also, standardize chargers and accessories. A big availability killer is missing or mismatched chargers. When a student cannot charge, the device becomes “broken” for that day. Keeping spare chargers in key places reduces downtime.
Then track the main causes of failure. If screens break often, invest in better cases and student handling routines. If batteries die early, adjust your cycle and charging habits. Use simple data, not guesses.
Finally, communicate a shared responsibility culture. Students need clear expectations and simple training on care. Teachers need support so they do not become repair managers. When availability improves, learning becomes smoother, and teachers trust the program more.
21) A common budgeting line for device upkeep is 3%–8% of device value per year for repairs, replacements, and accessories
Why upkeep should be planned, not improvised
Device programs fail when upkeep is treated as “unexpected.” Breaks are expected. Batteries wear out. Chargers disappear. Keyboards fail. If upkeep is not funded, schools either delay repairs or take money from other learning needs. Both outcomes reduce learning quality.
A 3%–8% upkeep line helps districts plan for normal wear. The right number depends on device age, student age, and whether devices go home. Younger students and take-home programs usually need a higher upkeep rate.
How to spend upkeep money wisely
First, decide what upkeep covers. Many budgets mix repairs, spare parts, cases, and extended warranties without clarity. Separate them so you can see where money goes. If repairs are high, you need prevention. If accessories are high, you need better tracking.

Second, invest in prevention. A strong case may cost more upfront but can reduce screen breaks. Simple habits, like closing lids before carrying devices and using backpacks properly, can prevent many incidents. Short student training at the start of the year often pays for itself.
Third, set clear repair tiers. Some issues can be fixed in-school quickly. Others must go to a vendor. Define what is handled where, and keep basic parts on hand if it saves time.
Fourth, design fair family policies. Some districts charge fees for damage, others do not. Whatever you do, keep it simple, consistent, and sensitive to families’ needs. The goal is responsibility, not shame.
Finally, review upkeep spending each term. If you consistently hit the top of the 8% range, your program may need better devices, better protection, or better processes. Upkeep is not just a cost. It is a signal that tells you what to improve.
22) In many districts, network and Wi-Fi upgrades can consume 10%–30% of technology-related spending during upgrade years, even if not counted as “EdTech tools”
Why networks decide whether EdTech works
A device and an app are only as good as the internet behind them. When Wi-Fi is weak, learning stalls. Students cannot load lessons. Online tests freeze. Teachers lose time and trust. That is why network upgrades can take a large share in certain years.
Even though leaders may not call this “EdTech,” it is the foundation that makes every digital lesson possible.
Upgrade years often involve new access points, better switches, stronger security, and improved bandwidth. These costs can spike because infrastructure upgrades are not yearly purchases. They come in waves.
How to plan network upgrades without shock spending
Start with a simple usage view. Identify your peak times, like morning attendance, online testing windows, and times when many classes stream video. If you only measure average use, you will miss the real pain points.
Next, set a minimum standard per classroom. It should be described in plain language, like “A full class can load lessons at the same time without delays.” Translate that into technical requirements with your IT team.
Then stagger upgrades by building and grade band if needed. If you cannot upgrade everything at once, prioritize the places where learning depends most on stable Wi-Fi, such as testing sites, high-use STEM labs, and schools with 1:1 devices.
Also, plan for the hidden costs. Cabling, power, and installation labor can surprise budgets. Include them early.
Finally, communicate the “why” to teachers and families. Network work can feel invisible, but it prevents daily frustration. When Wi-Fi improves, teachers are more willing to use digital lessons. That means the money spent on software and content has a better chance to show real learning gains.
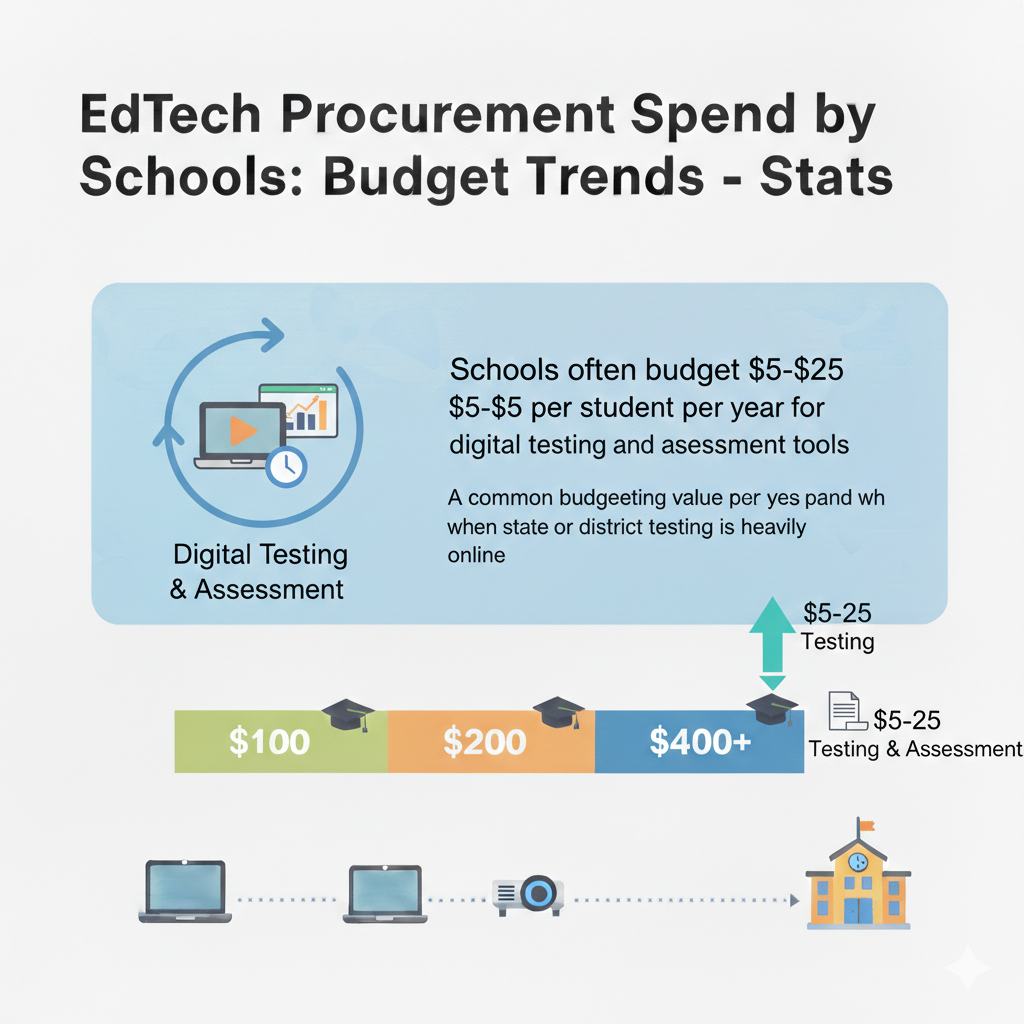
23) Schools often budget $5–$25 per student per year for digital testing and assessment tools when state or district testing is heavily online
Why assessment spend rises with online testing
Online testing requires secure browsers, stable systems, and tools that can handle many students at once. Some districts pay for assessment platforms, item banks, progress monitoring tools, and reporting dashboards.
Even when state testing is “free,” schools may still pay for the tools and support that make testing smooth and compliant.
Assessment tools can help learning when used wisely. They can show skill gaps early and help teachers adjust instruction. But they can also become “test for the sake of testing,” which drains time and money.
How to make assessment spending truly support learning
Start by choosing assessment tools that connect to instruction. If a tool only produces scores but does not help teachers know what to do next, it will not change outcomes. Look for reporting that is simple and points to next steps, not just charts.
Next, limit the number of assessments. Too many checks can crowd out teaching time. Decide which assessments are essential, which are helpful, and which are noise. Then align your calendar so teachers are not surprised.
Also, test your testing system before high-stakes days. Run a practice window to confirm logins, device readiness, and Wi-Fi strength. Many “assessment failures” are really setup failures.
Then train teachers on how to use the results quickly. A good pattern is to review data within 48 hours and make one small adjustment. For example, reteach a specific skill, regroup students for practice, or assign targeted work.
Finally, explain assessments to families in plain words. Families want to know what the test means and how it helps their child. When families trust the process, students feel less stress, and the school’s assessment spend feels more justified.
24) For districts using paid tutoring or intervention platforms, spend can range widely, but a common planning band is $20–$150 per participating student per year, depending on service intensity
Why tutoring spend varies so much
Tutoring can be light or intense. Some programs offer short practice sessions a few times a month. Others provide weekly live support, structured plans, and close tracking. Costs rise when the program includes human tutors, smaller group sizes, and frequent sessions.
Costs may be lower when the platform is mostly software-guided, with limited live support.
The real question is not “What does it cost?” The real question is “What level of support do our students need to make real progress?”
How to buy tutoring support that actually moves scores and confidence
Start by defining who the program is for. If you target every student, costs explode and results may thin out. If you target the students who need it most, you can fund stronger support per student and see clearer gains.
Next, choose intensity based on the learning gap. A student who is one skill behind may need light support. A student who is two years behind may need steady weekly help with a structured plan. Match the service level to the need, not to what is easiest to buy.
Also, demand evidence of progress. The tutoring platform should show clear growth measures that teachers understand. It should also allow teachers to see what was taught, not just that a session happened.
Then connect tutoring to classroom learning. Tutoring works best when it supports what students are learning in class, not when it is a separate world. Share goals and key skills across tutors and teachers.
For families, structured tutoring is often easiest when it is engaging and consistent. This is where programs like Debsie can help. Debsie’s live classes and gamified challenges make STEM and coding practice feel less like extra work and more like a goal students want to reach. When kids enjoy the learning, tutoring time becomes more effective.
25) A typical classroom software “stack” often includes 5–15 core tools used weekly, even if the district owns far more licenses
Why weekly-used tools matter most
Schools can own many tools, but students only learn inside the tools they use often. Weekly use is a strong sign that a tool is part of real instruction, not just a “maybe someday” purchase. A healthy stack is not huge. It is focused. When the weekly stack stays within 5–15 tools, teachers can teach better, students can work faster, and families can follow what is happening.
The problem is that many districts own far more licenses than the weekly stack needs. That means money is sitting in unused subscriptions. It also means teachers may feel pressure to “try everything,” which adds stress and lowers consistency.
How to build a focused stack that improves learning
Start by identifying the tools used weekly by most classrooms. Do not guess. Use login data and teacher input together. Then separate tools into three groups. First, the true core tools used by nearly all. Second, the tools used by specific grades or programs. Third, the tools rarely used.
Now tighten the core. For each core job, like assignments, communication, practice, and quick checks, ask if you have more than one tool doing the job. If yes, choose one primary tool and support it well. This reduces confusion and lowers support burden.
Next, improve depth of use. A focused stack works only when teachers know how to use the tools well. Provide simple examples teachers can copy, like a ready-to-use assignment flow or a weekly practice routine. When teachers see how the tool fits daily life, use rises.
Then communicate the stack to families. A short, clear “these are the tools we use” message reduces parent confusion and helps at-home support.
Finally, remove pressure to buy more. Make it normal to say no to new tools unless a clear gap exists. The goal is not to have many tools. The goal is to have the right tools used well.
26) Many districts see license utilization gaps: it’s common that 10%–40% of purchased seats go unused in a given year without strong tracking
Why unused seats are one of the easiest savings
When districts buy licenses, they often buy “just in case.” They may buy for all students, even if only some grades will use the tool. They may buy for all teachers, even if only certain departments need it. Over time, these choices create a utilization gap: seats paid for but not used.
This gap happens because student enrollment changes, staff roles change, and programs shift. Without tracking, the district keeps paying the same number year after year.
How to close the utilization gap in a simple, fair way
First, choose one person or team responsible for license tracking. When ownership is unclear, tracking disappears. Create a single dashboard that shows paid seats, active users, and usage frequency. Keep it simple enough to update monthly.
Second, set a “minimum use expectation” for paid tools. This is not about blaming teachers. It is about checking whether a tool is truly needed. For example, if a tool is paid for 2,000 students but fewer than 800 use it in a month, you have a clear signal to right-size.
Third, align seat counts to real groups. Buy for the grades that will use it. Expand later if it proves value. Avoid the habit of district-wide buying before proof.
Fourth, fix access issues that block use. Sometimes seats go unused because setup was poor, logins fail, or training was weak. Before cutting, confirm the tool had a fair chance to succeed.
Finally, right-size at renewal. The best time to reduce seats is before the next contract term. When you close a 10%–40% gap, you often free enough money to fund stronger training, better content, or improved device support without asking for more budget.
27) A common budget pressure pattern is the “funding cliff”: when temporary funds end, districts may need to cut or replace 10%–25% of paid EdTech subscriptions to rebalance budgets
Why funding cliffs cause sudden pain
Temporary funding can help schools upgrade quickly, but it can also create a future problem. When a district uses short-term money to start long-term subscriptions, the bills do not stop when the funding ends. That is the “cliff.” Schools then face hard choices: cut tools fast, reduce licenses, or shift money from other priorities.
The worst cliffs happen when districts do not track which tools were started with temporary funds. Leaders may believe the costs are “covered,” until renewal season hits.
How to prepare for a cliff and protect learning
Start with a funding map. List every subscription and mark the funding source. Identify which costs are supported by temporary money and when that support ends. This alone can prevent surprise cuts.
Next, rank tools by importance. Decide which tools are truly core to daily learning and which are helpful but replaceable. This ranking should be agreed by curriculum leaders, IT, and school leaders so cuts do not become a fight.
Then create a step-down plan. Instead of waiting for the cliff and cutting 25% overnight, reduce gradually. For example, cut duplicates first, right-size seats, and negotiate better terms. Small moves over 12–18 months can soften the landing.
Also, build replacement options. If you may need to cut a paid tool, identify a lower-cost substitute early and pilot it. This keeps learning stable.
Finally, communicate clearly with teachers and families. Sudden tool removal feels like chaos. Planned change feels like leadership. When everyone knows what is coming, teachers can adjust routines and students do not lose momentum.
28) In many districts, special education and accessibility tools can take 5%–15% of EdTech spend, especially where assistive tech is prioritized
Why accessibility spending is essential, not optional
Accessibility tools help students learn in ways that match their needs. This can include text-to-speech, speech-to-text, reading supports, translation supports, visual aids, communication devices, and tools that adapt content presentation.
In many districts, these tools are part of the promise that every child can access learning with dignity.
Spending can rise to 15% when a district invests deeply in assistive technology, specialized platforms, and strong support services. This is often money well spent when it leads to real inclusion and stronger student growth.
How to make accessibility spending more effective
Start by focusing on universal tools first. Many accessibility needs can be supported through features built into operating systems and core platforms. If staff are trained to use built-in accessibility options, the district may reduce the need for many separate purchases.
Next, buy specialized tools based on clear student needs, not broad assumptions. Work closely with special education teams to define which tools are required for which student groups. This prevents overbuying and ensures the tools chosen are truly helpful.
Also, prioritize integration. Tools that do not connect smoothly with the main learning systems create extra work for teachers and can isolate students. When assistive tools work inside the same workflow as the rest of the class, inclusion becomes real and daily.
Then invest in training for teachers and support staff. Accessibility tools are often powerful but underused because people do not feel confident. Short, practical training tied to real classroom tasks increases adoption and improves student experience.
Finally, measure success in student terms. Look for improved participation, stronger independence, and better progress. When accessibility spending is done well, it does not just support learning. It supports confidence and long-term life skills.
29) A frequent purchasing trend is “standardization”: districts often aim to reduce overlapping tools so that 1 LMS plus 1 video platform plus 1 core math plus 1 core reading cover most needs, lowering total vendors by 15%–35% over time
Why standardization improves both budget and learning
Standardization is not about making classrooms dull. It is about reducing confusion so students can focus on learning. When every class uses different systems, students spend energy figuring out where things are and how to submit work. Families struggle to help. IT struggles to support. Money leaks into duplicates.
When districts standardize around a few strong core platforms, they often reduce vendors by 15%–35%. This can lower costs, improve security, and create consistent routines across schools.
How to standardize without harming teacher flexibility
Start by standardizing the “how,” not the “what.” You can standardize platforms for assignments, communication, and core practice while still allowing teachers to choose different lesson methods and projects. Teachers do not lose creativity when they share a common toolset. They often gain time.
Next, select core platforms through real classroom testing. Choose tools that teachers can use easily and students can navigate without stress. A platform that looks impressive but is hard to use will fail, no matter how well it is marketed.
Then create a transition plan with support. Standardization fails when teachers are told, “Switch now,” without training and clear examples. Provide model lessons, simple workflows, and peer coaching. Make the first month feel guided.
Also, set a clear rule for exceptions. Some specialized programs need specialized tools. Allow exceptions when they are truly needed, but require a clear reason, data safety checks, and a plan for support.
Finally, use the savings wisely. When vendor count drops, invest in deeper training, better content, or targeted support for struggling students. Standardization is not just cost cutting. It is a way to make learning calmer, safer, and more consistent.
30) In many K–12 systems, the “total cost of ownership” of a student device program, meaning device plus management plus support plus apps, is often planned at $300–$800 per student per year when fully loaded
Why total cost of ownership is the number that matters most
The device price is only one piece. Total cost of ownership includes the device, device management tools, repairs, support staff time, key apps, content access, and sometimes connectivity support. When districts plan only for device purchase, they often get surprised later by support and software costs.
That surprise leads to rushed cuts that harm learning.
A fully loaded $300–$800 range sounds wide because it depends on program design. A basic program with simple tools and strong internal support may sit lower. A program with heavy subscriptions, high support needs, and frequent repairs may sit higher.
How to plan for total cost with calm clarity
Start by building a full cost picture before expanding a device program. List every cost category, even the “boring” ones like management and help desk time. Then divide by student count. This makes hidden costs visible.
Next, control the drivers that push you toward the high end of the range. Reduce tool count so app costs do not balloon. Standardize devices to lower support complexity. Improve training so teachers use fewer tools more effectively. Strengthen repair flow and prevention so break rates fall.
Also, plan a multi-year view. Total cost should be stable across years, not spiky. Stagger device refresh, track renewals early, and negotiate price caps where possible.
Finally, connect cost to outcomes and trust. Families and community partners want to know what the spending accomplishes. When you can say, “This program ensures every student can learn daily with reliable tools, clear content, and strong support,” the investment makes sense.
If you want students to build strong STEM and coding skills in a structured, fun way, Debsie is a helpful option for families. The learning is guided, gamified, and designed to build real confidence over time. You can explore courses at debsie.com/courses and try a free trial class.
Conclusion
EdTech spending is not just about buying more tools. It is about building a learning system that is steady, safe, and easy to use every day. When schools track per-student costs, control renewals, reduce duplicate apps, plan device cycles, and fund training and support, the same budget can produce far better results.
The strongest districts make fewer, clearer choices. They standardize what needs to be consistent, protect student data, and keep devices and networks reliable so teachers can teach and students can learn without friction.