
Every click in an LMS tells a story. Did the student stay? Did they learn? Did they come back tomorrow? This guide turns those little moments into clear numbers you can use right away. You will see exactly what drives logins, completions, and real understanding. No hype. Just simple, proven moves you can apply today. If you run a school, a center, or a single class, these numbers will help you plan smarter, teach with clarity, and raise outcomes without burning out your team.
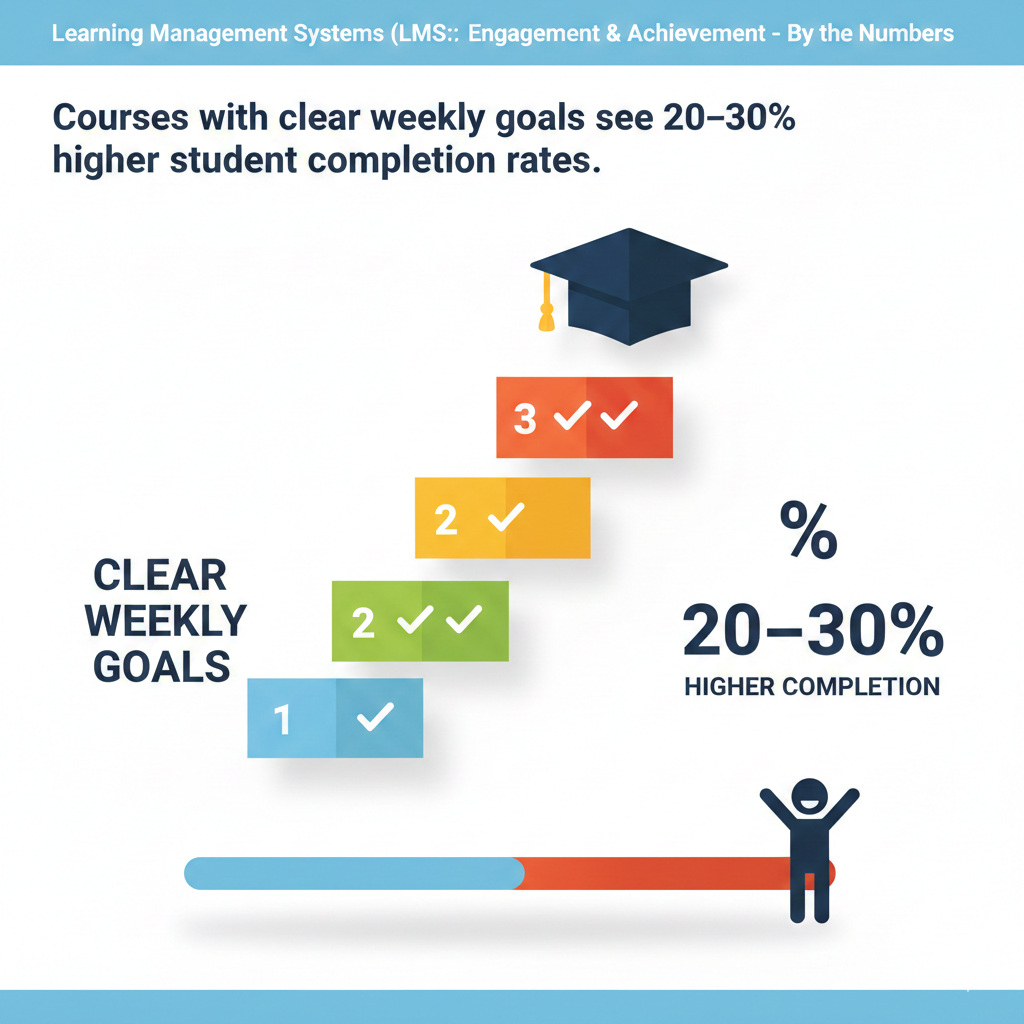
1) Courses with clear weekly goals see 20–30% higher student completion rates.
Why this simple habit changes everything
When a learner opens a course and sees one clear weekly goal, the path feels short and safe. The brain knows what “done” means for the next seven days, so energy is not wasted on guessing. This calm focus turns into momentum.
Each week becomes a small mission with a clear win state. When learners win small, they return. Completion grows because progress is visible, steady, and believable. A weekly goal also reduces mid-course drift. Instead of wandering through long modules, students lock onto a single target and move.
Families and mentors can support the plan because they can see the same weekly target, which removes confusion and chatter.
How to apply it in your LMS today
Write one sentence at the top of every week that starts with a strong verb and ends with a concrete outcome. Keep it plain and brief. Place the same sentence in the module intro, the calendar title, and the reminder message so there is zero ambiguity.
Add a short welcome video under sixty seconds where the teacher reads the goal and shows the three main steps. Use a visible progress marker, such as a green check or a small banner that appears only when the last step is complete. Promise the same weekly rhythm across the term so the habit sticks.
Keep the workload realistic and keep due dates consistent. End each week with a tiny reflection that asks, in one or two lines, what felt easy, what felt hard, and what the learner will try next week. This reflection closes the loop and sets up the next mission without fuss.
If you support mixed ages, offer two goal versions: a child-friendly sentence and a compact, parent-facing line. Both say the same thing in different voices. This keeps everyone aligned and gently raises completion without adding stress.
2) Daily login streaks (5+ days/week) boost quiz scores by 10–15% on average.
Why short daily touchpoints beat long study marathons
Memory loves rhythm. When learners touch a skill five or more days each week, even for a few minutes, recall strengthens and quiz anxiety drops. The streak itself becomes a small game. People protect the chain because the counter feels like a badge of effort.
The result shows up in quiz scores. Questions feel familiar, not far away. The student is not cramming cold material; they are warming the same path each day. A streak also lowers the mental cost of starting. Opening the LMS is no longer a big event. It is a quick daily check-in that keeps everything fresh.
How to build streaks without pressure
Make each day worth a login with one tiny action that takes five to ten minutes. Offer a micro-quiz, a fast practice set, or a one-paragraph recap. Count that action toward the streak. Show a soft visual like a flame or a day count in the top bar.
Give one weekly “grace day” so a missed day does not destroy the chain. Keep the tone kind. When a learner hits a five-day streak, show a short message before the next quiz that their steady effort is paying off. After the quiz, display a small chart that connects streak days with score growth.
Make streaks communal with a class goal, such as a shared total of streak days. When the group hits the target, celebrate with a fun teacher message or a small unlock like a bonus practice set. Invite parents to view streaks so they can cheer.
Send them one simple tip, like setting a consistent ten-minute “check-in time” after dinner. The aim is daily rhythm, not daily stress. Keep it gentle and the scores will rise.
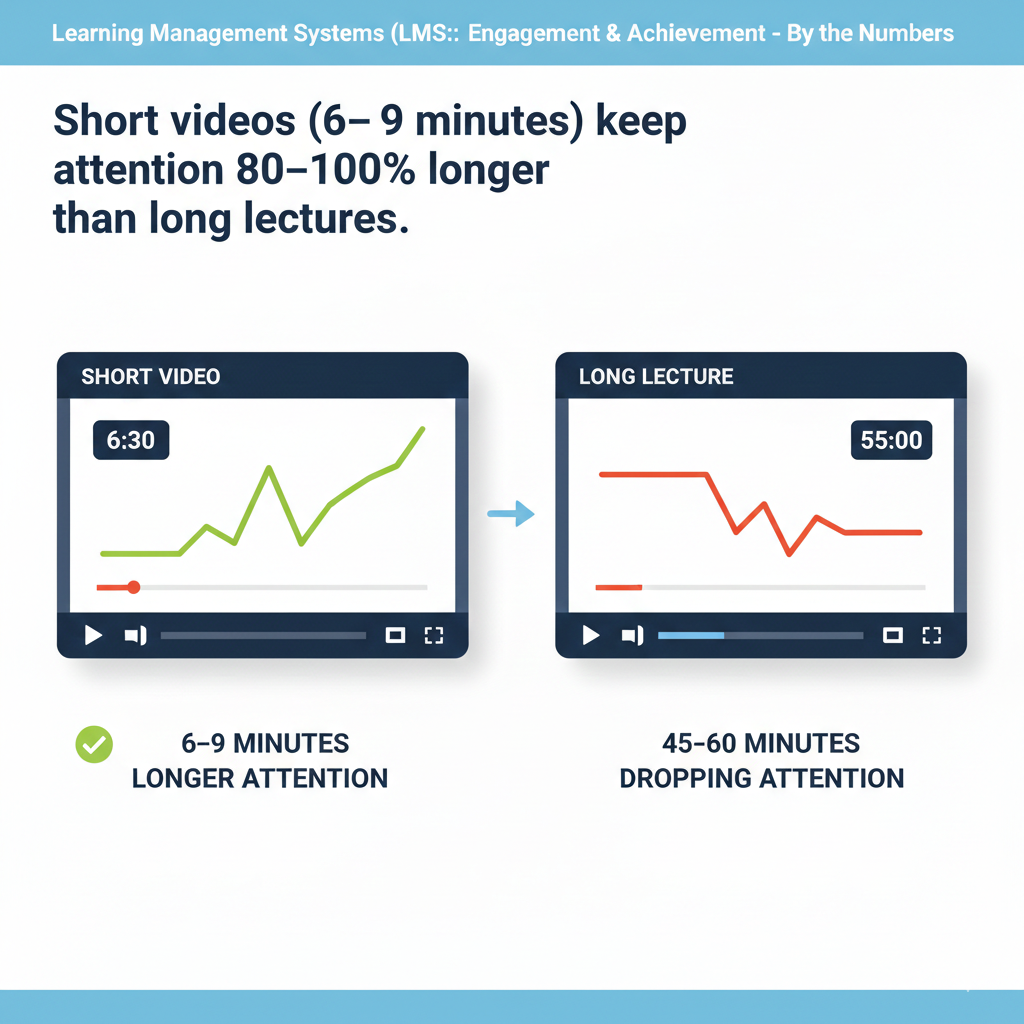
3) Short videos (6–9 minutes) keep attention 80–100% longer than long lectures.
Why brief videos outperform long lectures online
Attention slips fast on screens. Long lectures fight the medium, not the learner. Short videos work because they match the brain’s natural focus window. Six to nine minutes is long enough to explain one idea and short enough to prevent drift.
When learners finish a video before their attention dips, they feel in control and click to the next piece. This creates a chain of small wins rather than one long sit that invites distraction. Short videos also make review quick. Students can rewatch the exact idea they missed without scrubbing through a long file.
How to design short videos that actually teach
Plan each video around one question and one clear outcome. Script the opening ten seconds to say the question and promise the result. Use simple visuals and large text. Avoid heavy slides full of words. Speak slightly faster than a live class but keep your tone warm.
Add captions for clarity and silent viewing. End with a micro-task, such as a two-question check or a tiny challenge. Place that task immediately after the video so the brain uses the new idea right away. If a topic feels too big, slice it into a mini-series with titles that read like steps, such as part one, part two, and part three, each with a distinct outcome.
Keep all parts in one module so navigation is simple. Track average watch time inside the LMS and retire any video that consistently loses viewers at the same time mark. Reshoot the weak segment as two smaller clips and test again.
This iterative approach builds a library of tight, effective videos that learners actually complete.
4) Adding one low-stakes quiz per lesson raises retention by 12–18%.
Why tiny checks create sticky learning
Testing is not only for grades. A quick, low-pressure quiz turns passive watching into active thinking. The act of recall cements the idea, even if the quiz feels easy. Because the stakes are low, anxiety stays low, which keeps the brain open to feedback.
The quiz also gives the system a clean signal. Did the idea land or not? With that signal, the LMS can guide the next step instead of pushing everyone forward blindly. Over weeks, these tiny checks add up to stronger memory and fewer surprises at exam time.
How to craft low-stakes quizzes that learners enjoy
Place a three-to-five question quiz right after each lesson. Use plain language and cover the exact idea the lesson taught, nothing extra. Allow immediate feedback with a short, friendly explanation for each answer. Let students retry once or twice to learn from mistakes without penalty.
Keep scoring gentle, such as completion credit or a small mastery bar that fills up as answers improve. Rotate question types to keep attention, using quick multiple choice, a simple drag-and-drop, or a one-sentence “explain in your own words.” Tag each question to a skill so your reports show which skills are solid and which need help.
If many students miss the same item, insert a tiny hint video under sixty seconds at that exact spot. For live classes, start the session by reviewing one interesting question from last week’s low-stakes set. Celebrate thoughtful wrong answers that show real reasoning, then model the fix in simple steps.
This turns mistakes into momentum and builds a culture where practice is normal and safe. Over time, you will see fewer gaps, calmer learners, and a clear, steady rise in retention.
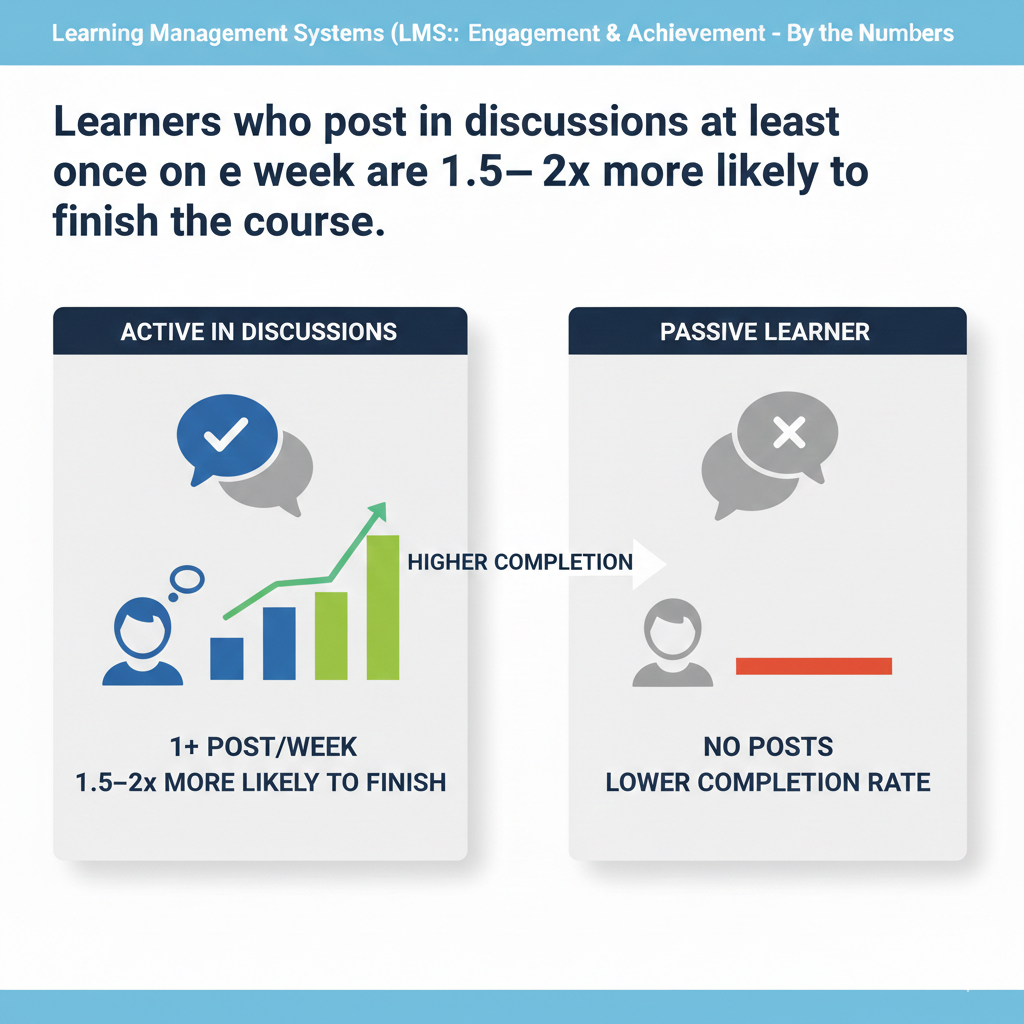
5) Learners who post in discussions at least once a week are 1.5–2x more likely to finish the course.
Why weekly posting keeps learners on track
When a learner writes one short post each week, they stop being a silent watcher and become an active member of the class. Writing forces the mind to sort ideas, connect facts, and choose words. This small act turns weak knowledge into stronger knowledge.
It also builds a sense of belonging. The learner sees replies, gets noticed, and feels part of a team. That social pull matters when life gets busy. People return to spaces where they feel seen. Weekly posting also lowers fear.
The more a student shares, the easier it is to ask for help early. Questions surface before they grow into bigger problems, and that leads to steady progress and higher completion.
How to spark one useful post every week
Place a simple prompt in each week’s module that ties closely to the lesson goal. Ask one clear question that can be answered in five sentences or less. Use plain language and give an example answer that is short and human. Set a due time that matches your learners’ routine, such as Sunday evening, and keep it the same each week.
Encourage two kinds of replies: one kind word and one tiny suggestion. Model both in your own comments. Pin one best answer each week and explain why it is strong in two lines. Reward effort, not length. For shy students, offer a private draft space where they can test their words before posting.
For younger learners, allow voice notes that the system auto-transcribes so everyone can read. Keep the rules of the forum gentle and clear. No sarcasm. No jargon. Real help only. If you teach live sessions, bring two posts into the opening five minutes and link them to the day’s plan.
This shows that posting matters and that the LMS space and the live room work together. Track posting streaks and celebrate them quietly with a thank-you message and a small profile badge after four weeks. Completion rises when students speak, feel heard, and see their words move the class forward.
6) Push reminders (1–2 per week) cut missed deadlines by 25–35%.
Why light nudges work better than loud alarms
Most missed work is not about skill; it is about timing. Learners forget, switch tasks, or misjudge how long a step will take. Soft reminders catch attention early without causing stress. One or two nudges per week keep the course top of mind while leaving space for life.
The message is not a warning; it is a guide. It says, here is the next small action, and here is when to do it. Over time, these gentle touches build a steady rhythm. The result is fewer late submissions and calmer weekends for families and teachers.
How to design reminders that people actually read
Write reminders as if you were texting a busy friend. Keep the subject clear and the body short. Name the task, the time it will take, and the due date in one or two sentences. Add a single deep link that opens the exact activity inside the LMS so there is no hunting.
Schedule the first reminder forty-eight hours before the due time and the second eight hours before. Respect time zones and sleep hours. For young learners, send a copy to parents with a friendly line they can say out loud, such as let us do five minutes together now.
Use different tones for different tasks. A practice quiz might say warm-up time, while a project step might say quick checkpoint. Avoid red alerts unless there is a real risk, and even then, keep the language kind. After a deadline passes, send a soft catch-up note with a one-click extension if your policy allows it.
Track which reminders get clicks and trim any that do not help. The goal is a small set of high-impact nudges that make action easy. When reminders are respectful and precise, learners trust them, act on them, and miss fewer deadlines.
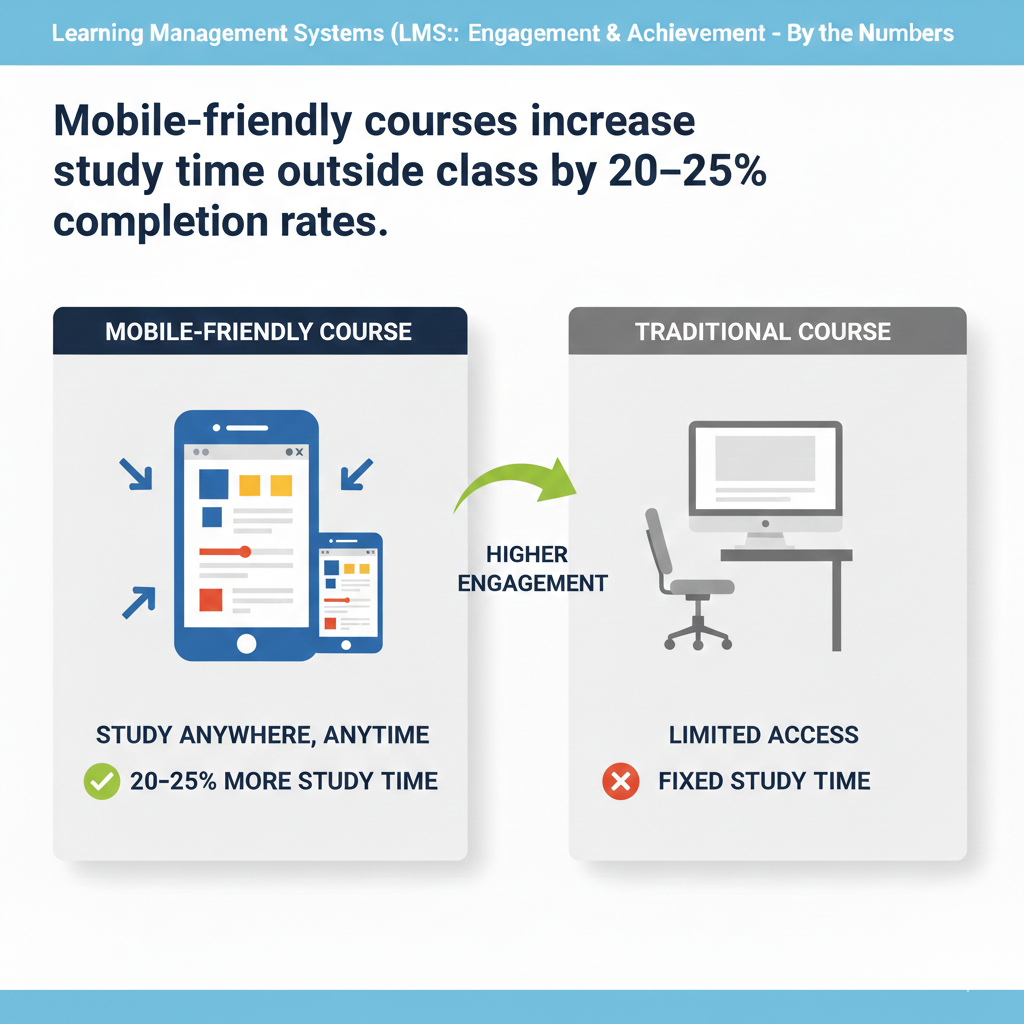
7) Mobile-friendly courses increase study time outside class by 20–25%.
Why mobile design unlocks hidden minutes
Learning does not only happen at a desk. It happens on buses, in waiting rooms, and between activities. A mobile-friendly course turns those spare minutes into real progress. If pages load fast, text is readable, and buttons are big enough for thumbs, students can review a concept, finish a quick quiz, or watch a short clip wherever they are.
These small moments add up. The course moves forward even on busy days. Mobile access also lowers the barrier for parents and mentors. They can check progress on their phones and offer help in the moment, which keeps motivation high.
How to make your LMS truly usable on phones
Design from the phone first. Test every page on a mid-range device over average data speeds. Keep the home screen clean with the next action at the top. Use large fonts and strong contrast so eyes do not strain. Break long text into short paragraphs with clear subheadings.
Replace heavy PDFs with responsive pages. Keep videos in the six to nine minute range and provide captions. Offer an audio-only option for learners who are on the move. Make buttons at least finger-width and leave space around them to prevent mis-taps.
Enable offline access for key items like readings, short videos, and practice sets so weak connections do not block study. Use smart caching so the app remembers where a learner left off and returns there in one tap. Limit pop-ups and fancy animations that slow down older phones.
For forms and submissions, allow photo uploads of handwritten work with a simple crop tool. Add a quiet mode that turns off sound but leaves haptic cues for streaks and reminders. Finally, watch your analytics by device and connection type.
If certain pages drop mobile users, refactor them first. When the LMS respects the phone, students find extra time without trying, and outside-of-class learning grows.
8) Gamified badges raise module completion by 10–20%.
Why badges turn effort into momentum
Badges work because they make invisible work visible. Many students do the steps but cannot feel progress until the final grade arrives. A badge gives a small, instant win that says your effort counts today. This recognition lights up motivation without forcing a leaderboard or harsh competition.
Badges also set shared standards. When the class knows which actions earn which badges, they understand what matters. Over time, these small signals stack into a story of growth. Students who collect badges develop a completion habit because each module promises a new token of progress.
Parents and mentors can see the badges too, which makes praise easy and specific.
How to design badges that drive the right behaviors
Start with three badge types that match your course goals. Use a mastery badge for finishing a module at a target score, a consistency badge for keeping a study streak, and a community badge for helpful posts or peer support. Name badges in simple, friendly words and show the rule in one line.
Keep the art clean and readable on small screens. Place badge previews at the top of each module so students know what they can earn this week. Trigger badges instantly when the action is complete and show a small confetti moment that lasts no longer than two seconds to avoid delays.
Allow students to pin one favorite badge on their profile to build identity and pride. Use badges as soft gates by suggesting, not forcing, the next step after one is earned. Review badge data monthly. If a badge is rare and not by design, lower the threshold or split it into two steps.
If a badge is common and meaningless, raise the bar or retire it. Tie a few badges to real perks such as a bonus practice set, a teacher shout-out, or early access to an optional challenge. Keep badges positive, predictable, and tied to learning, not luck.
Completion will climb because students move from one clear, rewarding action to the next.
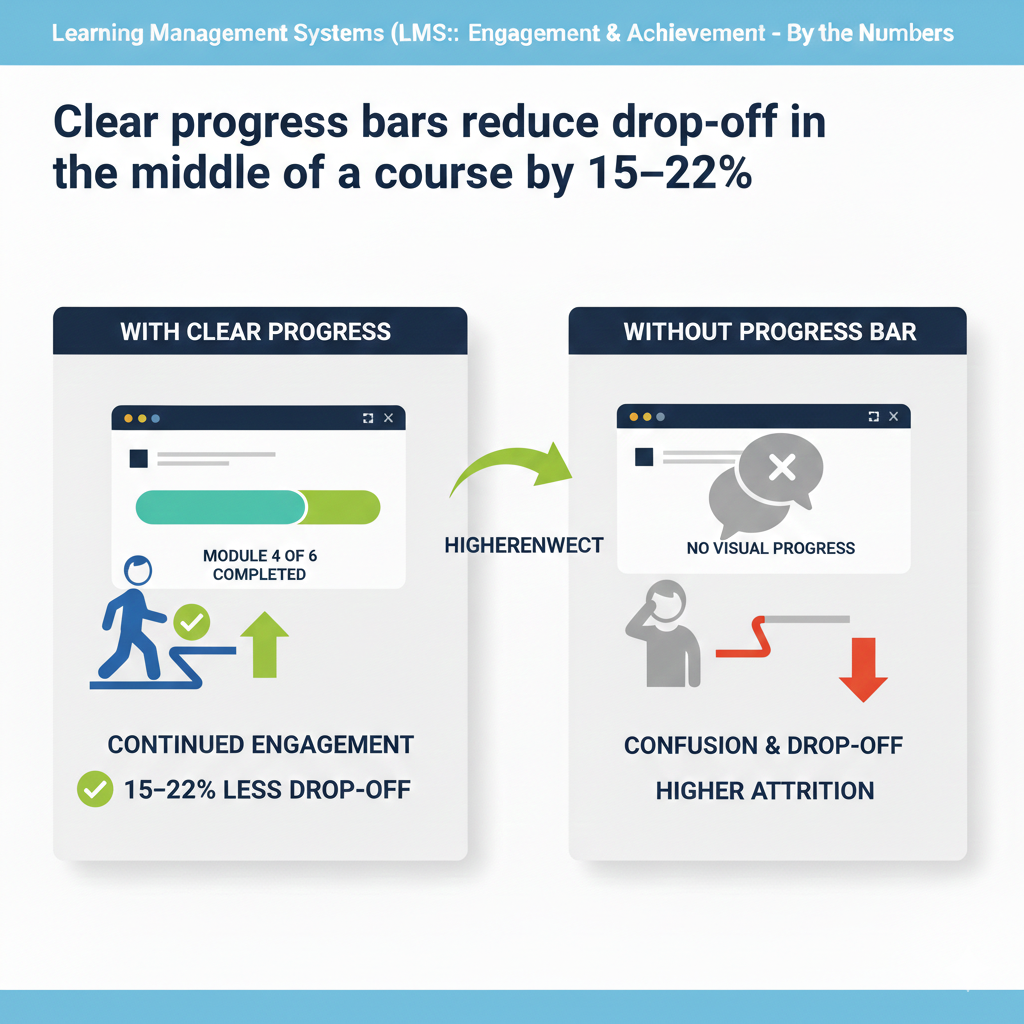
9) Clear progress bars reduce drop-off in the middle of a course by 15–22%.
Why a visible path keeps learners from stalling
Many learners quit in the messy middle because the finish line feels far away. A simple progress bar turns the course into a visible path. Each small fill of the bar proves that time spent is time earned. The bar reduces worry because it shows exactly how much is left.
It also helps planning. Students can pace their week when they can see the remaining steps. This removes the false feeling that the course is endless. When the mind sees the bar move, it wants to move it again. That tiny pull keeps learners engaged through the tough middle modules.
How to build progress bars that actually guide action
Place the bar at the top of the course home and repeat a smaller version inside each module. Use one color and a smooth fill so it is easy to read at a glance. Tie the fill to concrete actions like completed lessons, passed quizzes, and submitted tasks, not just page views.
Show the percent and the count, such as seven of ten steps done, to give both a quick read and exact detail. Make every item in the bar clickable so students can jump to what is left. Add a short nudge line under the bar that updates based on progress, such as two quick lessons to reach eighty percent.
Keep that text friendly and specific. For long courses, add milestones at twenty-five, fifty, and seventy-five percent with tiny celebration moments to break the journey into chunks. Sync the bar with due dates so late items display as a gently highlighted segment instead of a scary alert.
In reports, watch where many learners pause and redesign those sections by splitting large items, adding a shorter video, or placing a low-stakes quiz to reset attention. When the progress bar tells the truth, is easy to act on, and never shames, the middle no longer feels like a swamp.
Students step forward because the next step is clear.
10) Adaptive practice (auto-leveled questions) improves final scores by 8–14%.
Why right-sized challenge accelerates learning
Learning is a balance between comfort and stretch. If questions are too easy, time is wasted. If they are too hard, confidence drops. Adaptive practice finds the sweet spot for each learner, updating in real time. This keeps the brain in the zone where effort feels meaningful and progress is felt.
Because the challenge is tuned, students spend more minutes truly learning and fewer minutes guessing or zoning out. Over weeks, that steady, right-sized practice turns into a clear lift in final scores, especially for students who start below or above the class average.
How to set up adaptive practice that feels fair
Tag every question to a skill and a difficulty level. Begin each unit with a short, friendly diagnostic that places the learner on a starting path. Let the system adjust by small steps only, moving up or down one notch based on recent answers.
Show learners what the system is doing in plain words, such as we are giving you slightly harder questions because you are doing well. Offer hints on harder items and simple feedback on misses so the learner learns, not just sorts.
Cap the daily practice to a modest number, like ten to fifteen questions, so sessions feel achievable. Include a clear exit condition, such as three strong answers in a row on a skill, to keep sessions purposeful. Give teachers a live view of each learner’s current level and recent struggles so they can step in with targeted help.
For students who feel anxious about adaptive tools, allow a fixed-level practice mode as an option and slowly invite them back to adaptive once success builds. Review your item bank monthly to remove broken questions and add fresh ones where the system shows gaps.
When adaptive practice is transparent, gentle, and tuned to real skills, learners grow faster and believe in the process.
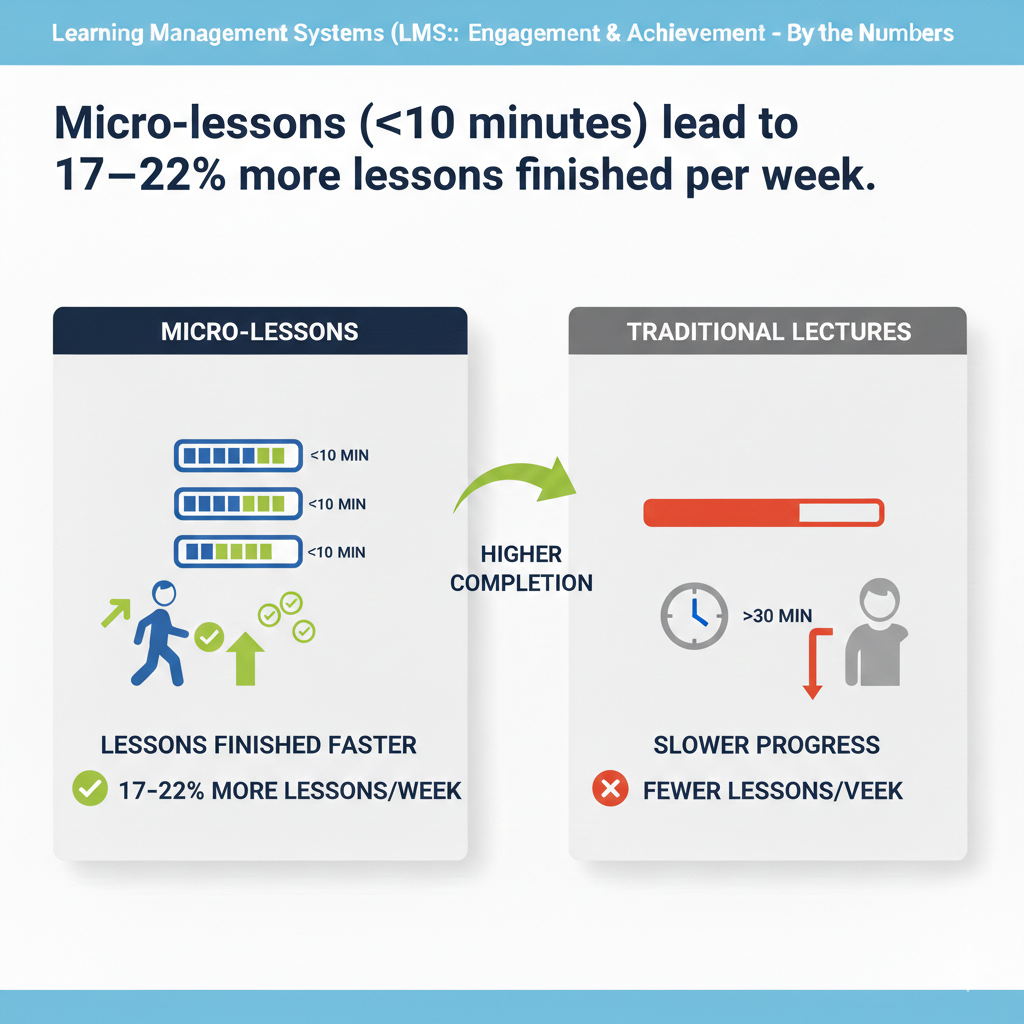
11) Micro-lessons (≤10 minutes) lead to 17–22% more lessons finished per week.
Why small lessons fit real lives
Life is busy. Ten-minute lessons fit into small pockets of time, so students can finish a step during a break, on a bus ride, or between activities. Finishing more lessons each week creates a steady rhythm and a feeling of momentum. Micro-lessons also reduce overwhelm.
When the task is small, starting is easy. Starting often is the secret to finishing more. Short lessons help teachers too. Each lesson can focus on one idea, which lowers confusion and makes feedback faster. Over time, the whole class moves forward in clean, simple steps.
How to design micro-lessons that still go deep
Write each lesson around a single outcome stated in one line at the top. Keep the body tight: a short explanation, a clear example, and a tiny practice. Use plain language and remove extra words. Add a six-to-nine minute video only if it truly helps, and include captions.
End with a one-minute reflection or two-question check to lock the idea in memory. Link directly to the next micro-lesson so students keep flowing if they have time. For skills that need more depth, chain three micro-lessons into a micro-unit with a mini-project at the end.
Mark expected time clearly so students can choose based on their schedule. Make the mobile view first-class so each lesson loads fast and reads well on small screens. Track completion time and trim any lesson that consistently runs long. If many students stall on a step, split it into two and test again.
For live classes, use micro-lessons as pre-work so live time can focus on discussion and application. Micro does not mean shallow. It means clean, focused, and doable. When lessons fit daily life, more lessons get done, and learning compounds.
12) Captioned videos lift content comprehension for all students by 8–12%, and more for ESL learners.
Why captions make lessons clearer for everyone
Captions help because they turn sound into text. The brain gets the idea through two channels at once, which makes the message easier to catch and remember. If a word is new, the spelling is visible. If the audio is noisy, the meaning is still clear.
Students who learn English as a second language benefit even more because captions slow nothing down and remove guesswork. Captions also help when learners watch in quiet places or on a bus without headphones.
They support focus by keeping eyes on the lesson and not on other tabs. Over time, this steadier attention shows up as better understanding and stronger scores.
How to add captions that learners will actually use
Write clean scripts for your videos and upload them to your LMS or video host so the captions match the speech exactly. If you use auto-captions, always review and correct names, terms, and numbers. Choose a large, high-contrast font and place captions low but not covering key visuals.
Keep line length short and break lines at natural pauses so reading is smooth. Include punctuation because it shapes meaning. Offer captions in the main language and, when you can, add translated tracks for common home languages. Turn captions on by default and let learners toggle them.
Provide a downloadable transcript under the video with time stamps so students can scan and jump to the exact moment they need. For math, science, and coding, use proper symbols and code formatting in the transcript.
Ask one quick question at the end that invites students to copy one key line from the captions into their notes. This gives them a memory hook. Review watch analytics to spot videos with low caption use and check the timing or readability.
Good captions do not get in the way. They guide the eye, support every learner, and make complex ideas feel simple.
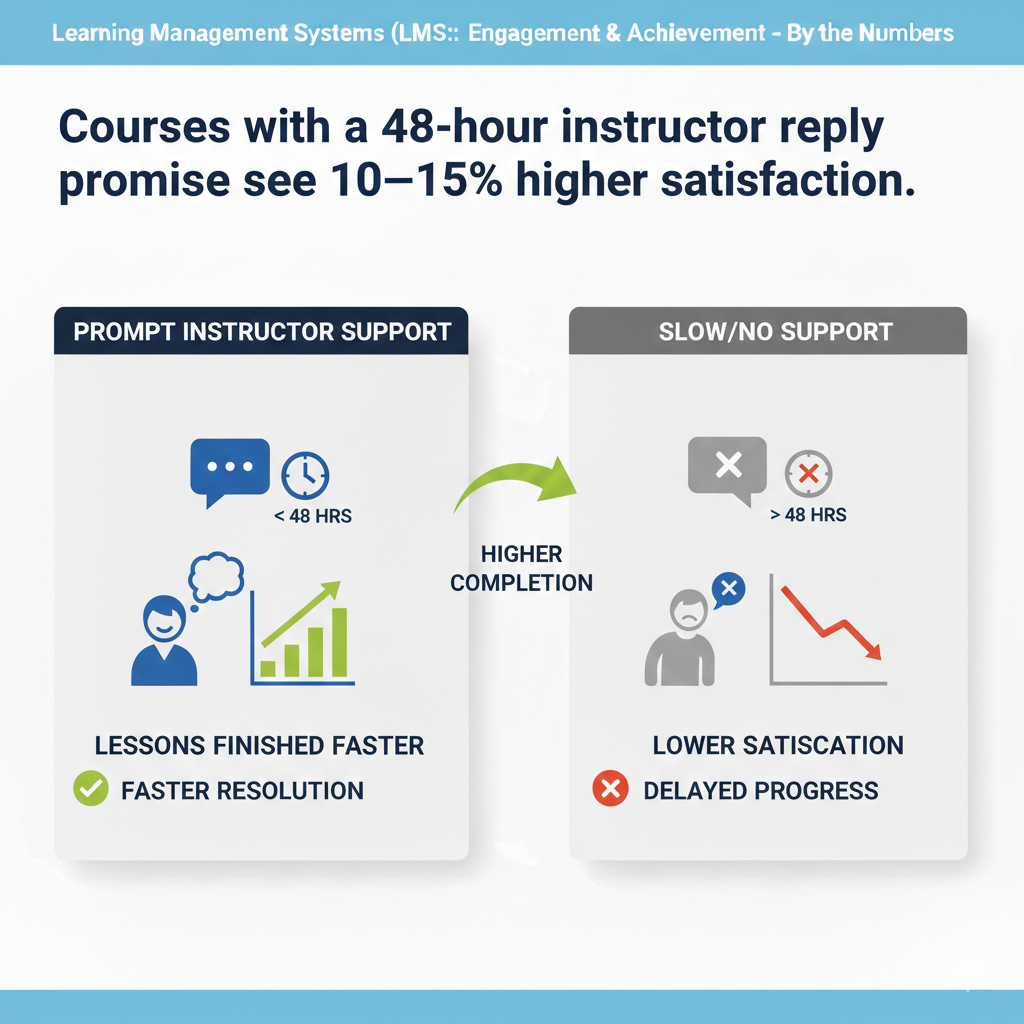
13) Courses with a 48-hour instructor reply promise see 10–15% higher satisfaction.
Why fast, reliable replies build trust
Students feel safe when they know someone will answer. A clear forty-eight-hour promise turns silence into certainty. Questions do not pile up. Small confusions stay small. Parents also relax because they see a system that cares.
This does not mean teachers must be online all day. It means the course sets a firm rhythm for help. When learners believe their voice matters and help is near, they lean in, try harder tasks, and rate the course higher. Satisfaction rises because support is predictable, kind, and timely.
How to keep the 48-hour promise without burnout
Set clear hours for questions and place them on the course home page. Offer one inbox for academic questions and a separate channel for tech issues so nothing is lost. Use an auto-reply that confirms the message was received and states the forty-eight-hour window in friendly words.
Build a daily triage habit. Spend a short, fixed block each workday replying to the oldest questions first. Use saved reply templates for common topics, then add one personal line so the message feels human. If a question needs more time, send a quick note within the window saying you are on it and give a timeline.
Offer weekly office hours in a live room and let students book a ten-minute slot directly inside the LMS calendar. Train a support aide or teaching assistant to handle basic queries and escalate the rest. Keep a public FAQ that grows with real questions and link to it from every reply.
At the end of each week, tag unanswered threads and close loops. Measure response time and publish the average to your team so you can adjust staffing if the number slips. A steady, humane system beats heroic late-night sprints and keeps the promise strong all term.
14) Peer review activities increase on-time assignment submission by 12–16%.
Why peer review moves deadlines forward
When students know their classmates are waiting to read their work, the deadline becomes social, not just personal. This gentle social pressure reduces last-minute delays. Peer review also makes the assignment feel useful because the work will help someone else, not only earn a grade.
Giving feedback sharpens thinking. Students notice gaps in their own work after they advise a peer. This brings edits earlier, which keeps projects on schedule and raises overall quality. The cycle of submit, review, revise turns a big task into clear steps that are easier to start and finish.
How to run peer review that is fair and fast
Keep the structure simple. Ask each student to review two peers and to receive two reviews. Use a short, visible rubric with three to five criteria, each with plain language and one example of what good looks like. Set two deadlines: a submission deadline and a review deadline forty-eight hours later.
Automatch partners to avoid delays and keep reviews anonymous to reduce bias. Provide comment stems like one thing that works well and one thing to make clearer to guide feedback. Encourage short, specific notes rather than long essays.
Allow a quick reaction option so reviewers can mark if they felt confused, interested, or convinced. Require a brief self-edit plan after reviews, where the student lists the top change they will make. Give teachers a dashboard to spot missing reviews early and nudge with one click.
For sensitive tasks, allow opt-out of anonymity if both students agree and a teacher approves. Close the loop with a final check-in where the teacher comments on the revision, not just the first draft. When the process is tight and kind, students submit on time because the work serves a real audience and the steps are easy to follow.
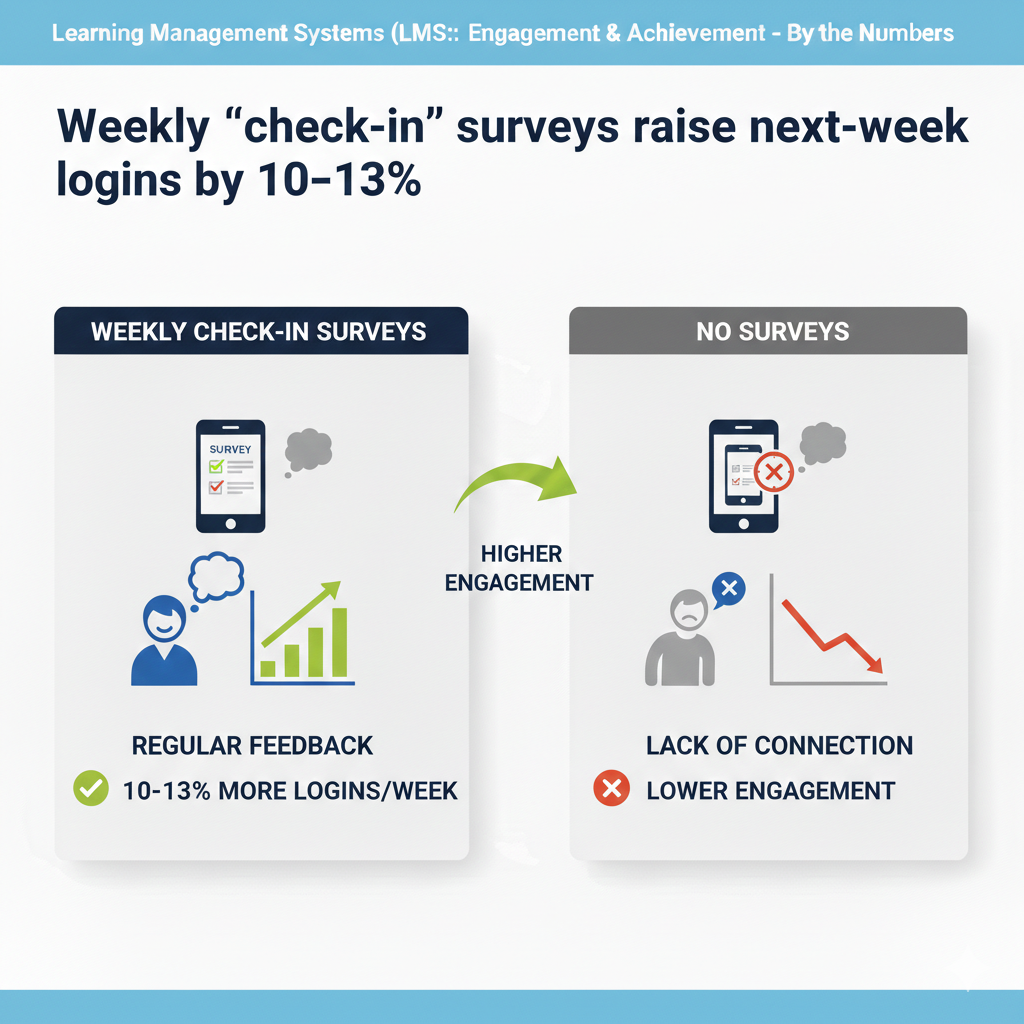
15) Weekly “check-in” surveys raise next-week logins by 10–13%.
Why tiny pulse surveys boost return visits
A short survey tells students their feelings and struggles matter. When the course listens, students come back. The act of clicking two or three choices also strengthens the habit of opening the LMS each week. The feedback helps teachers fix small issues fast, which keeps friction low.
If a video is too long or a concept is fuzzy, the next week can adjust. Students notice the change and trust grows. That trust turns into steady logins and smoother learning.
How to design a one-minute survey that drives action
Place the survey at the end of each week’s module and keep it under sixty seconds. Ask one mood question, one clarity question, and one workload question. Use simple scales with clear labels such as confused to clear and too light to too heavy. Add one optional line for a comment.
Show the student a tiny thank you screen that says what you will do with the results, such as we will shorten next week’s video if many say the same. Review the data every Friday and post a two-line reply on Monday that states one change you made based on the feedback.
This closes the loop and proves the survey is not just for show. For learners who skip the survey, add a friendly nudge when they next log in. Do not make the survey block progress; keep it optional but valuable. If you teach younger students, let them answer with emoji faces and color bars to make the choice simple.
Over time, keep the questions steady so you can see trends and seasonality. A tiny survey, used well, keeps the course in tune with real student life and brings them back the following week.
16) Personalized learning paths reduce time-to-mastery by 15–25%.
Why a custom route gets learners there faster
Not every learner starts at the same point or moves at the same pace. A single path forces some to wait and others to rush. Personalized paths remove this friction. The LMS checks what the learner already knows, skips what is mastered, and spends time where help is needed.
This saves minutes every day and hours every month. It also protects confidence. Learners face work that feels fair, not random. That calm focus turns into faster growth and fewer repeats. Parents and mentors can also see the custom plan and support the right step at the right time, which keeps the engine running.
How to build simple yet powerful personal paths
Begin each unit with a quick diagnostic that takes ten minutes or less. Tag each lesson and quiz to a clear skill. Use rules that route learners based on results, such as if skill A is strong, jump to lesson three; if weak, do lesson two first.
Keep the map visible with a small banner that says here is your path today and shows two next steps. Let learners request a challenge lane if they want extra stretch and a review lane if they feel lost, then confirm with a one-question check so the choice is data-backed.
Cap daily tasks to stop overloading. Add a weekly recap that shows time saved by skipping mastered items. Give teachers a control panel to override routes when they see context that the system cannot, like a sick week or a family move.
Re-check placement every two weeks so paths stay fresh as skills grow. Keep the tone kind and explain why the route changed using plain words. Personalization should feel like a helpful guide, not a maze. When the map is clear and the steps are sized to the learner, mastery arrives sooner and with less stress.
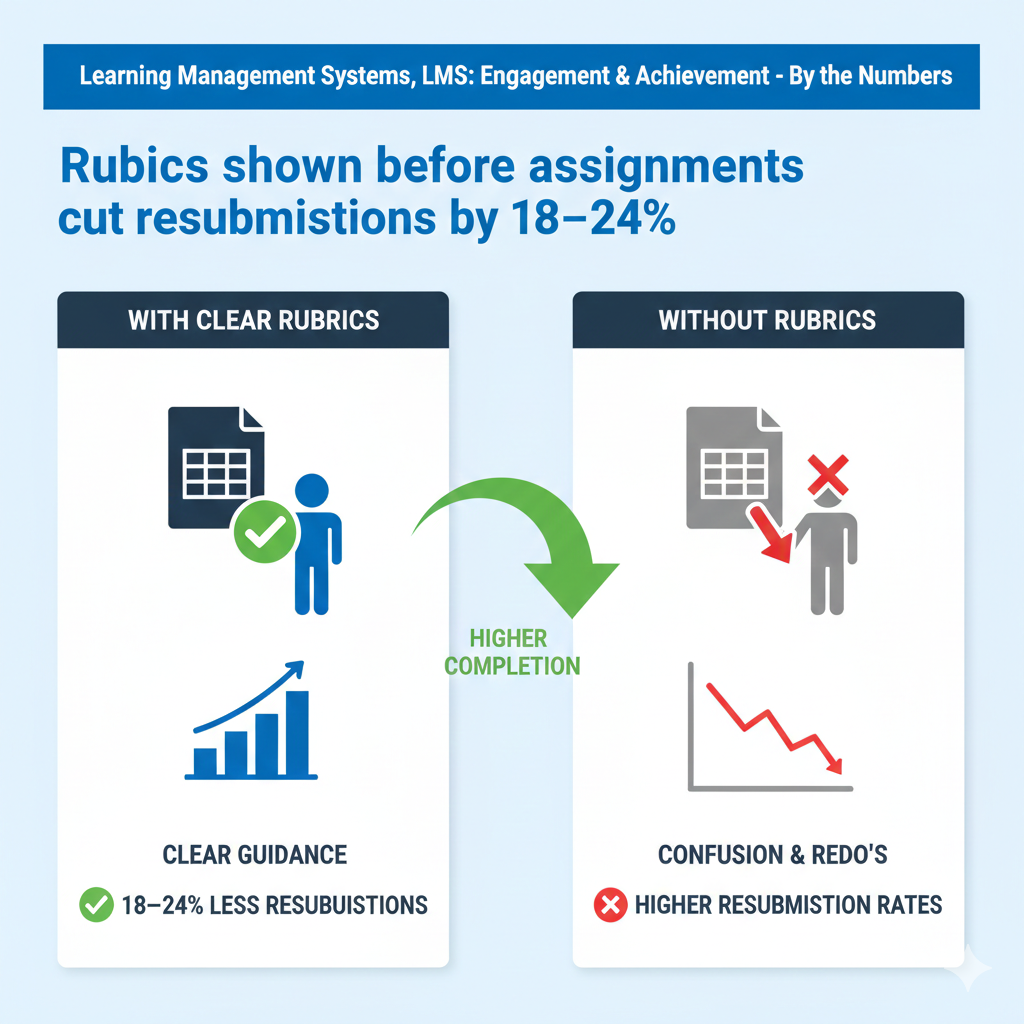
17) Rubrics shown before assignments cut resubmissions by 18–24%.
Why a clear rubric prevents avoidable mistakes
Many resubmissions happen because students did not know what good looked like. A rubric shown only after grading is too late. When learners see the criteria before they start, they plan better and hit the mark earlier. A rubric turns a fuzzy task into a checklist of quality.
It also speeds feedback because teacher comments can point to a specific row and level. Parents can help more effectively too, because they can compare the work to the same shared standard. The result is fewer do-overs, cleaner drafts, and happier Sundays.
How to make rubrics that guide action, not confusion
Keep your rubric short and sharp with three to five criteria. For each criterion, write three levels with plain names like not yet, getting there, and strong. Add one short example for the strong level that matches the assignment topic.
Place the rubric at the very top of the assignment page and require a quick pre-check where students mark where they expect to land. Embed the rubric into the submission screen so learners can self-check before clicking submit.
Use the same rubric to grade and return it with two or three crisp comments tied to specific cells. Allow one small revision window where students can raise one level on one criterion if they submit a focused fix within forty-eight hours. Train students to read the rubric by walking through one sample in a short video.
For bigger projects, attach a student-friendly checklist derived from the rubric with exact actions, such as include two sources and show your steps. Over time, recycle strong rubrics with tiny tweaks so expectations stay stable across units.
A good rubric is a friendly map. When everyone can see the route, more students arrive on the first try.
18) Average session length of 12–18 minutes yields the best quiz performance gains (5–9%).
Why medium-length sessions beat sprints and marathons
Very short sessions do not give the brain time to settle in. Very long sessions drain energy and blur focus. A twelve to eighteen minute window is long enough for one idea plus a bit of practice and short enough to avoid fatigue.
In this window, recall is fresh, attention is steady, and mistakes turn into learning, not stress. Learners finish with a small win and are more likely to return the next day. The LMS can shape this rhythm by how it slices content and times nudges.
Over weeks, these well-sized sessions add up to noticeable quiz gains without late-night cramming.
How to design and protect the 12–18 minute sweet spot
Group each lesson page, short video, and micro-quiz so the full flow fits inside this window. Show an estimated time at the top and track actual time quietly in the background. If many students run long, trim the content or split it into two steps.
Add a soft progress cue, like two of three steps done, so learners see the end coming. Offer a pause-and-return button that bookmarks the exact spot for the next day. Encourage a quick reset between sessions, such as stand, breathe, and stretch for twenty seconds.
For live classes, use timed blocks where the teacher speaks for six minutes, students practice for eight, then share for four. Send reminders that suggest one session after school and one light review before bed for tough topics.
Keep optional “deep dives” outside the main flow so they do not stretch the average session. Share a simple family tip: protect one fifteen-minute quiet slot each weekday. With sessions sized for real brains and real homes, students learn more in less time and walk away feeling successful.
19) Two practice attempts per quiz lead to 9–12% higher final exam scores.
Why a second try unlocks real learning
The first attempt shows what the learner can do right now. The second attempt turns mistakes into fuel. When students see where they slipped and try again soon after, the brain rewires the idea while it is still warm. Anxiety also drops because the grade is not tied to a single throw of the dice.
With two shots, learners take feedback seriously. They read explanations, adjust their steps, and test the fix. This cycle builds judgment and confidence. It also surfaces hidden gaps early, long before the big exam. Over a term, those many small corrections add up to stronger final scores without extra stress.
How to set up two attempts that teach, not game the system
Keep the quiz size small and the content tight. Ten to twelve questions is enough for a solid check. After the first attempt, show item-by-item feedback with short, plain explanations and one hint link per missed skill. Lock a short pause of five to ten minutes before attempt two so students review rather than click fast.

Average the two scores or award the higher one with a small learning credit so effort is rewarded. Shuffle questions from a skill-based pool so the second try tests the same ideas with fresh items. Limit to two attempts to keep urgency and value.
Display a small progress note after attempt two that says which skills are now strong and which to review next. For teachers, show a quick report comparing first and second attempts so you can spot tricky items that confuse many learners.
If students still miss the same skill twice, route them to a micro-lesson before they can retry on the next quiz. The goal is growth, not guesswork. With a fair, thoughtful two-attempt design, students learn from errors, practice smarter, and walk into the final with real mastery.
20) Courses that start cohorts together (same start date) cut early dropout by 20–28%.
Why moving as a group keeps learners from quitting
Starting together creates day-one energy. Learners see names, feel a crowd, and sense a shared journey. When the first tough moment comes, students do not feel alone. They know others are facing the same step this week.
This shared timing also helps teachers set a steady rhythm for announcements, check-ins, and live help. Parents can plan because the week’s beats are the same for everyone. The result is fewer early exits, stronger habits, and a class culture that carries people through the messy middle.
Momentum is a team sport, and a common start date builds the team.
How to launch a cohort with clarity and care
Pick a clear start date and publish a simple countdown on the course page. Send a welcome note seven days before with the week-one goal, time estimates, and a warm teacher intro video under one minute. Open a short pre-course orientation that shows how to navigate, how to submit, and how to get help.
Keep it fifteen minutes or less and mark it complete with a friendly check. Host a five-day launch week with tiny daily actions, such as a hello post, a three-question setup quiz, and a short practice task. Use a class map that shows who is online now and invite light reactions so students feel the room.
Schedule the first live office hour within the first seventy-two hours and share a simple agenda. Pair new learners into small study circles and give them one two-minute icebreaker prompt to post by day three.
Keep deadlines consistent across the cohort and send the same reminders at the same times so the group moves together. In week two, spotlight two student wins that show the cohort’s spirit. Stay steady and kind. A clean, shared launch sets habits, builds trust, and keeps more learners in the course long enough to see their own progress.
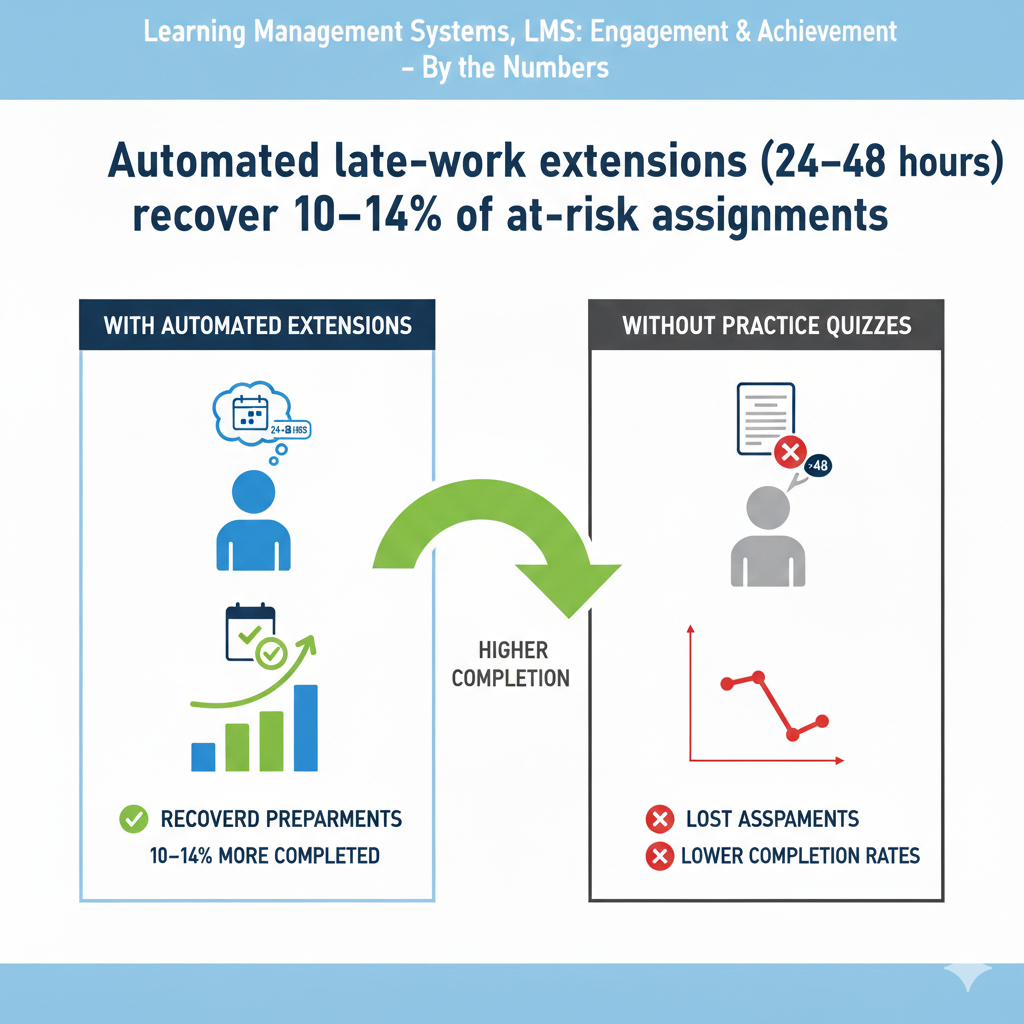
21) Automated late-work extensions (24–48 hours) recover 10–14% of at-risk assignments.
Why a small grace window saves more work
Life happens. A family event, a sports day, a poor internet night. Without a path back, a missed deadline can turn into a missed week, then a dropout. A simple, automatic extension keeps the door open. It says you still belong here; finish soon and move forward.
Because the window is short and clear, the task stays fresh and doable. Students avoid the shame of asking, teachers avoid case-by-case email threads, and work that would have been lost gets turned in. Over time, these small saves protect learning time and reduce stress for everyone.
How to design extensions that are fair and firm
Set a default grace period of twenty-four to forty-eight hours for most weekly tasks. Show the option on the submission page with a plain button that the student can click once per assignment. When clicked, the LMS records the new due time and sends a kind note with a direct link back to the task.
Keep the penalty light or zero for first uses to encourage honest recovery. For repeated late use in the same course, add a tiny point cap or require a one-minute reflection on what blocked progress and what will change next week.
Exclude major exams or group work unless a teacher approves, and state that clearly on those pages. Give teachers a dashboard to see who used extensions and to nudge gently if the new window is closing. Share a parent view that explains the policy in one paragraph so families can support without panic.
Review term data to spot patterns, such as frequent late work on a certain day, and adjust pacing or reminders. The rule is simple: be humane, be clear, and keep learners moving. When the system offers a fair second chance, more students take it and stay on the path.
22) Social learning (study groups of 3–6) increases weekly active minutes by 25–30%.
Why small groups make students show up and stay longer
People learn better when they feel seen. A small group creates a safe space to ask questions, test ideas, and share wins. With three to six members, no one can hide and no one dominates. Each person has a role, and time on task goes up.
Groups also create gentle accountability. When the group plans to meet or post by a certain day, members show up. The LMS can support this by giving each group a home with shared tools and a simple plan. Over weeks, these social ties turn into extra study minutes, more practice, and stronger outcomes.
How to build groups that work without heavy management
Form groups at the start of the course using a mix of time zone, interest, and starting skill. Keep sizes small and stable. Give each group a simple page with a chat, a shared checklist, and a calendar. Post a weekly group prompt tied to the main lesson, such as solve this problem and explain your steps in two lines.
Rotate a light role each week: starter shares the first attempt, checker reviews for clarity, and summarizer posts the final note. Cap group tasks at fifteen minutes so they stay easy to schedule. Encourage one live huddle per week on a flexible day with a countdown timer in the room.
Offer a “quiet member” mode where a student can listen without video if they feel shy, but invite a one-line contribution before the end. Give teachers a bird’s-eye view of group activity and a one-click way to cheer or nudge.
After four weeks, allow gentle regrouping if schedules clash, but avoid constant reshuffles. Celebrate useful group posts in the main feed to model quality. Keep the tone warm and focused. With light structure and the right size, groups keep students engaged, add minutes without feeling heavy, and turn solo study into shared progress.
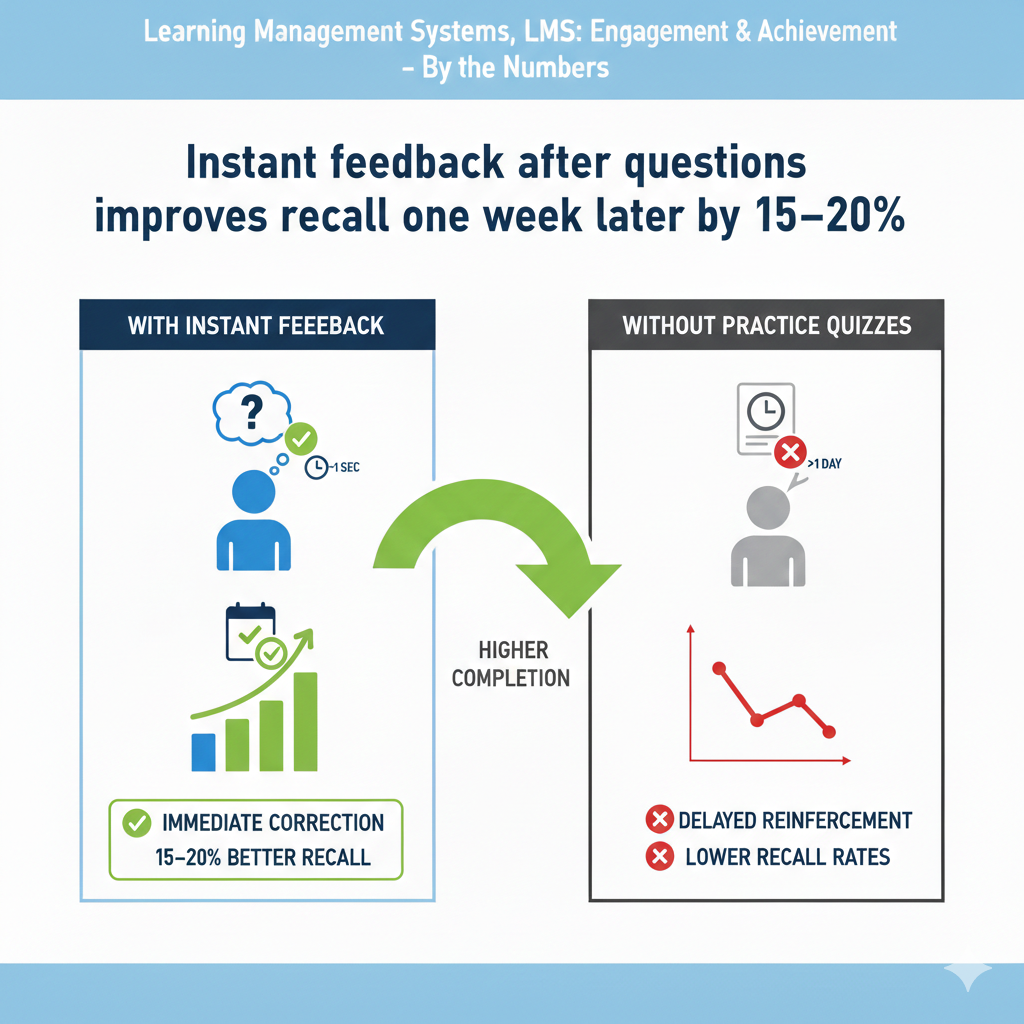
23) Instant feedback after questions improves recall one week later by 15–20%.
Why immediate answers lock ideas in memory
When a learner answers a question and sees the result right away, the brain compares guess and truth in the same moment. This quick compare-and-correct creates a strong memory trace. If the answer is right, the brain tags the step as confirmed.
If it is wrong, the short correction fixes the pathway before the mistake hardens. Waiting hours or days breaks this cycle. The mind moves on, and the gap stays foggy. Instant feedback also lowers stress. Students do not sit in doubt.
They know where they stand and what to do next. This calm clarity makes them more willing to try again, which means more practice and better recall seven days later.
How to deliver instant feedback that actually teaches
Keep question sets small so the system can respond fast. After each item, show correct or incorrect with one clear sentence that explains why. Use the same simple words you would use with a friend. If there is a common trap, name it kindly and show the fix in one step.
For math and coding, display the full worked solution on request, but first show a hint that nudges the next move. Let learners try one quick retry on a similar item to prove they learned from the note. Color matters, so use calm tones like green and blue for correct and neutral gray for misses; avoid angry red.
On mobile, place the feedback directly under the item so there is no scrolling hurt. Collect data on which explanations earn the fastest second-try success, then rewrite weak ones. For open responses, use short model answers and a two-sentence rubric that learners can compare with their own work.
If an item is consistently missed, attach a micro-lesson under sixty seconds and route learners there automatically. The goal is not to mark; it is to teach in the moment. When feedback is instant, kind, and specific, memory sticks and next week’s recall rises without cramming.
24) LMS pages that load in under 2 seconds see 10–12% more page views per visit.
Why speed turns curiosity into action
Every extra second at load is a chance to quit. Students have busy days and short windows. If a page opens fast, they tap the next link, watch the next clip, and submit the next task. Slow pages break the flow and drain patience. Fast pages feel respectful.
They signal that the platform values the learner’s time. Parents also notice speed when checking progress. Smooth pages mean fewer support emails and less friction at home. Over the span of a week, those small seconds add up to more lessons visited, more questions answered, and more learning done.
How to tune your LMS for sub-two-second loads
Design light. Use clean layouts, short pages, and optimized images. Keep videos hosted on a fast CDN and lazy-load thumbnails instead of full embeds. Preload the next lesson link so it opens instantly when tapped. Minify scripts and styles, remove unused libraries, and defer anything not needed for the first paint.
Cache aggressively for logged-in users so repeat visits snap open. Offer an offline-ready mode for top resources in mobile apps. For rich widgets like code editors or math tools, load them only when the student reaches that section. Test on mid-range phones over average data speeds, not just on fast laptops.
Track largest contentful paint and time to interactive; fix any page above two seconds first. Keep fonts system-native when possible to avoid heavy downloads. Limit auto-playing elements that steal bandwidth.
Give teachers a page-weight meter inside the editor so they see if a lesson is getting heavy. Celebrate speed wins with your team and set a simple policy: if a page feels slow, it is slow. When the LMS feels quick, students explore more, click more, and complete more.
25) Single sign-on (SSO) reduces login-related support tickets by 30–40%.
Why one door beats many keys
Multiple usernames and passwords create tiny daily roadblocks. Students forget, parents mix accounts, and teachers spend time resetting access instead of teaching. Single sign-on turns many doors into one. Learners use the same trusted account they already know.
The login step feels safe, fast, and predictable. This reduces friction at the start of every session and cuts down on help requests. With fewer login hiccups, more minutes go to learning. Admins also gain security and control, which keeps the whole system cleaner and calmer.
How to roll out SSO without confusion
Pick the identity providers your families already use, such as school Google, Microsoft, or a district portal. Make the SSO button the first option on the login screen and label it in plain words like Sign in with your school account. Keep the classic login for rare cases but hide it under an advanced link to reduce misclicks.
Map user roles on first sign-in so students see courses, parents see dashboards, and teachers see classes without manual setup. Offer a one-time account link flow that is two steps at most and explain it on one short page with screenshots.
During launch week, send a simple email and a thirty-second video to families showing the exact button to tap. In the LMS, detect when a user tries to enter a password for an SSO account and show a helpful prompt to use SSO instead.
For shared devices, enable a clear sign-out link and a quick switcher so siblings can swap accounts without chaos. Track support tickets by type and publish the drop so your team sees the win. SSO done right feels invisible. It takes the stress out of starting, protects learning time, and frees teachers from password triage.
26) Onboarding that includes a 5-minute tour raises first-week activity by 18–23%.
Why a tiny guided tour creates confident first steps
The first five minutes set the tone for the whole course. If learners feel lost on day one, they hesitate all week. A short guided tour shows where to click, how to start, and how to get help. It removes guesswork before it turns into frustration.
When students begin with a clear map, they take action right away. They watch the first clip, answer the first question, and post their first note. That early activity becomes a habit, and habits carry the course. Parents also relax when they know how to check progress without digging.
How to design a friendly tour that ships in a day
Create a simple, step-by-step overlay that appears on first login and takes less than five minutes end to end. Use five stops: home, weekly goal, lessons, submit, and help. Keep each stop to one sentence and one arrow. Make the tour click-through so learners do the action, not just read about it.
Include a skip button with a promise that the tour is always available from the help menu. Add a micro-check at the end, like upload a practice file or answer one sample question, so the learner leaves with a tiny win. In mobile apps, design the tour for thumbs with large tap targets and no tiny text.
Record a light version as a one-minute video for families and place it in your welcome email. Translate the key lines for common home languages. Track completion of the tour and compare first-week actions between completers and skippers; use that data to tweak the order and wording.
Refresh the tour each term if the interface changes. Keep it warm, short, and real. A good tour removes fear, sparks action, and lifts activity in the days that matter most.
27) Parent/mentor dashboards lift K-12 student completion by 12–18%.
Why shared visibility turns families into coaching partners
Kids work harder when the adults in their life can see small steps, not just final grades. A clear parent or mentor dashboard shows what was done today, what is due next, and where help is needed. This turns vague questions like how was school into focused support like I see two short tasks left; want to do one together now?
The student feels seen but not judged. Parents feel useful without hovering. Teachers get fewer surprise emails because the facts are already on the screen. Over weeks, this steady home support pushes more tasks across the finish line, which raises completion for the whole class.
How to build a dashboard that guides kind, quick help
Design one clean page per child with three parts: today’s check-ins, this week’s goals, and gentle alerts for stuck items. Use plain words and large fonts. Show time estimates next to each task so families can pick a job that fits the moment.
Add a single click-to-open link that jumps straight into the child’s next activity, even on a phone. Keep colors calm and avoid scary red; use soft highlights to show what needs attention. Include a notes box where mentors can write one line to cheer or ask a question that the teacher will see in their inbox.
Offer a weekly email summary that arrives on the same day with the same sections. Let families choose language and time zone so reminders make sense in their world. For privacy, give read-only views with no editing of student work.
Train everyone with a one-minute video that points to the three sections and shows how to nudge with care. In your course welcome, share a simple home script, such as let’s spend ten minutes to turn the bar green.
When dashboards are simple, kind, and action-focused, families become steady partners and students finish more with less stress.
28) Certificates tied to clear skill outcomes raise final-module completion by 10–16%.
Why meaningful certificates pull learners to the end
A certificate is not just a file. It is proof. But it only motivates when it stands for specific skills, not a vague completion stamp. When students know the certificate will list real abilities they can show to a teacher, a club, or a future employer, they push to finish the last steps.
Parents also value a certificate that names skills because they can praise growth in concrete terms. The LMS can turn this into a strong end-of-course pull by making the path to the certificate transparent and fair from day one.
How to design certificates that students will chase
Define three to five skills for the course and write them in simple words on the syllabus and certificate. Map each skill to a final checkpoint, such as a short performance task, a timed quiz, or a small project demo.
Show a live certificate preview in the course that fills in as skills are verified, so students watch their future badge take shape. Add a skills transcript line under the certificate that explains how each skill was proven, like passed arrays quiz with 85% or built a working model that met all rubric points.
Offer two tiers, certificate of completion and certificate of mastery, to reward extra effort without shaming anyone. Trigger a friendly banner in the last module that says only one skill check left; your certificate is almost ready. At the end, let students download a shareable image and a secure link with verification.
For schools, allow batch export so counselors can add proof to student portfolios. Keep design clean and readable on small screens and in print. Avoid fluff badges and focus on skills that matter.
When the certificate is real and the path is visible, students care about the finish line and complete the final steps with pride.
29) A/B-tested content updates (twice per term) improve pass rates by 6–10%.
Why small, measured tweaks beat big, rare overhauls
Courses get better when you test ideas, not guesses. An A/B test compares two versions of one thing, like a video intro or a practice set, and shows which helps learners more. Doing this twice each term keeps the course fresh without chaos.
It also builds a habit of listening to data while staying human. Small wins stack up: a clearer example here, a shorter clip there, a sharper hint on a tough question. Over time, these precise changes raise pass rates because the course removes friction where it hurts most.
How to run fast A/B tests that lead to real upgrades
Pick one high-impact spot per test, such as the lesson where many students stall or the quiz with the most misses. Change one thing only. Keep the rest the same so results are clean. Split the class randomly and run the test for a set window, usually one to two weeks.
Define success before you start, like higher quiz score, shorter time on task, or more lesson completions. Track just the metrics that matter for this test and ignore noise. When the window closes, pick the winner and deploy it for everyone.
Write a tiny changelog in the course news so students see that you improve the course based on evidence. Save the losing version in a sandbox in case you need it later. Do not test five things at once or you will confuse learners and yourself.
Twice per term is a good rhythm: one test early to smooth the start and one near the middle to lift tricky sections. Invite teachers and even students to suggest test ideas. When A/B tests are simple, ethical, and focused, they turn good courses into great ones, step by step, and pass rates rise without heavy lifts.
30) Offline access on mobile helps low-connectivity learners finish 15–20% more lessons.
Why learning should not stop when the signal drops
Many homes and commutes have weak or unstable internet. If lessons only work online, learning stops when the signal does. Offline access turns wasted minutes into progress. Students can download the week’s content when they have Wi-Fi and study later without worry.
They watch short videos, read a lesson, and take a small quiz. When the phone reconnects, the LMS syncs quietly. This simple feature protects equity. It keeps rural and busy families in the game and lets every learner move at their own pace, no matter the bars at the top of the screen.
How to make offline mode simple, light, and safe
Offer a one-tap download for each week that bundles short videos, readings, and low-stakes quizzes. Show the space needed before download and keep bundles small by using compressed media and text-first pages. Mark which items can be done offline with a tiny icon and place them at the top for easy access.
Cache captions and transcripts with the videos to support quiet spaces. For quizzes, store answers and time stamps locally with encryption, then auto-sync on the next connection. If syncing fails, show a clear message and try again in the background rather than asking the student to redo work.
Allow partial sync so a student keeps their streak even if only some items upload. Provide a light progress view that works offline so students can see what is done and what is next. In settings, add a download-on-Wi-Fi-only option to protect data plans.
Give teachers a report that flags frequent offline use so they can schedule support with care, not judgment. Test on mid-range Android and iOS devices because that is what many families use. Keep the experience smooth and forgiving.
When offline is easy and secure, students finish more lessons, build steadier habits, and trust that the course will work wherever they are.
Conclusion
The story is clear. Small, steady moves inside your LMS create big wins outside it. Short videos keep eyes on the page. Low-stakes quizzes turn watching into understanding. Streaks, badges, and progress bars make effort feel real.
Fast replies, kind extensions, and simple tours remove friction before it grows. Personal paths, micro-lessons, and instant feedback push every learner forward at the right pace. Together, these moves build a calm, focused rhythm where students show up, finish more, and remember longer.