Air is all around us, even though we can’t see it. It’s invisible, but it’s never still — it’s always pressing against everything with a gentle but powerful force called air pressure. We don’t usually notice it, but air pressure can lift, push, and even crush things if we know how to use it.
The amazing part? You don’t need a science lab to explore it. You can see the magic of air pressure right in your own kitchen, using everyday items like cups, bottles, water, and even eggs. With a few simple experiments, you can make water stay in an upside-down glass, get an egg into a bottle without touching it, and even crush a can without using your hands.
In this article, we’ll explore fun, safe, and surprising air pressure experiments you can try at home. We’ll keep it simple, clear, and hands-on, so you’ll understand not just what happens, but why it happens.
What Is Air Pressure?
Even though we can’t see air, it’s made of tiny particles called molecules. These molecules are always moving, bumping into each other and into everything around them. When they bump into things, they push on them — and that push is what we call air pressure.
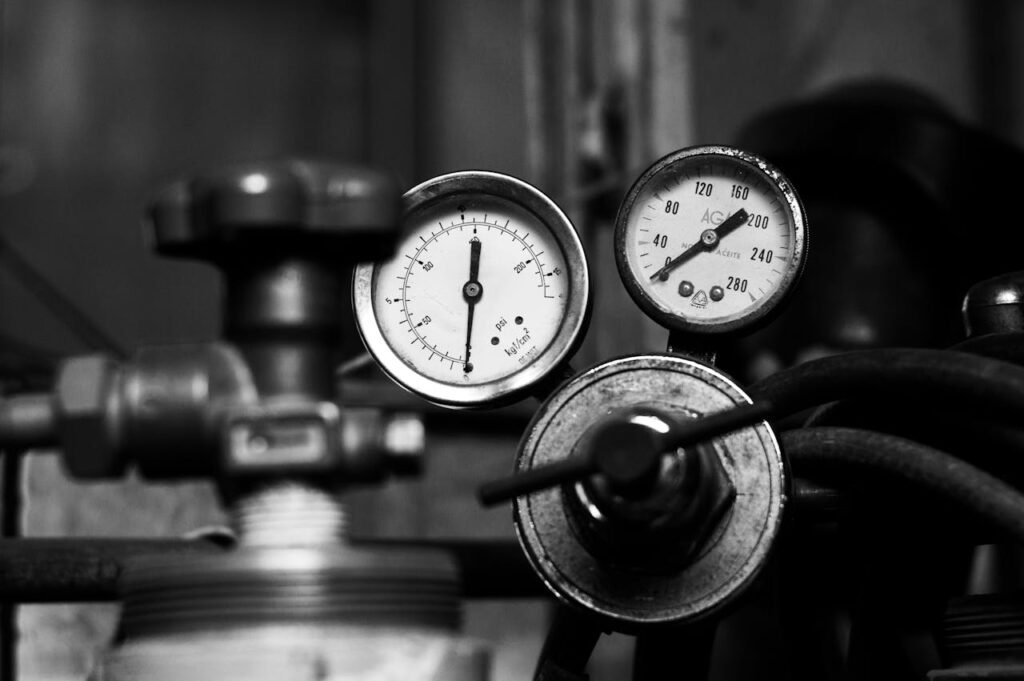
Air pressure is all around us, all the time. At sea level, the air pushes down with a force of about 14.7 pounds per square inch. That’s like having the weight of a small car pressing on every square inch of your body — but you don’t feel it because the air inside your body pushes back with the same amount of pressure.
When air pressure changes, amazing things can happen. If you remove air from somewhere, or change its temperature, you can make objects move, bend, or even break — without touching them. And that’s where our kitchen experiments come in.
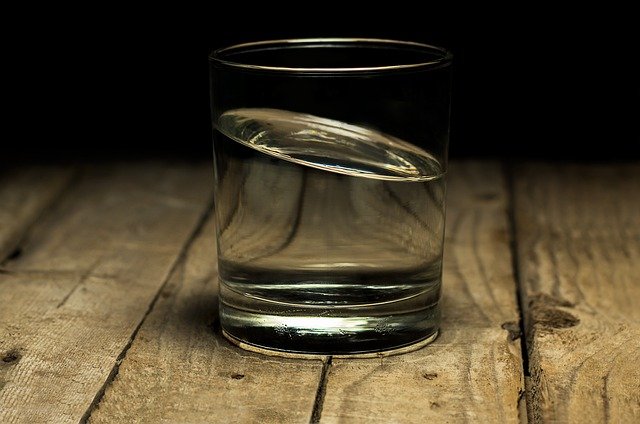
Experiment 1 – The Upside-Down Glass of Water
What you need:
- A drinking glass
- Water
- A stiff piece of cardboard (like from a cereal box)
What to do:
- Fill the glass about three-quarters full with water.
- Place the cardboard on top of the glass.
- Hold the cardboard in place with your hand and turn the glass upside down.
- Take your hand away from the cardboard — and watch as the cardboard stays in place, holding the water inside!
What’s happening:
Air pressure is pressing up on the cardboard from underneath. Even though gravity is pulling the water down, the air around us is pushing hard enough to keep the cardboard sealed to the glass. It’s the same air pressure that keeps the ocean from boiling away and keeps our atmosphere wrapped around Earth.
Why This Is So Cool
This experiment shows that air isn’t “nothing” — it’s a real substance that takes up space and pushes on things. Without air pressure, the cardboard would just fall and the water would spill out.
You’ve just used invisible air to do something that seems like magic, but is actually pure science. And the best part? It works every time as long as the seal is tight and there are no big air bubbles in the water.
Experiment 2 – The Collapsing Soda Can
This is one of the most dramatic air pressure experiments you can do in your kitchen — and it always gets a “Wow!” reaction. In just a few seconds, you’ll see a strong metal can get crushed without anyone touching it, all thanks to the invisible power of air.
What you need:
- An empty soda can (aluminum works best)
- About 2–3 tablespoons of water
- A stove or hot plate (adult help needed)
- A large bowl filled halfway with cold water
- Tongs (so you don’t burn your hands)
Step-by-step:
- Prepare the can: Pour about 2–3 tablespoons of water into the empty soda can. This small amount is enough to make steam without taking too long to heat.
- Heat it up: Place the can upright on the stove or hot plate. As the water boils, you’ll see steam rising out of the top. That’s the water turning into water vapor. What’s happening here is that the steam is pushing most of the air out of the can.
- The quick flip: Once you see a steady stream of steam coming out, it’s time for the big move. Using tongs, carefully grab the can, flip it upside down, and plunge the opening into the cold water in the bowl.
- The magic moment: As soon as the can touches the cold water, it will crumple in on itself with a loud pop or crunch. It looks like it’s being squeezed by an invisible giant hand.
The science behind it:
Here’s why the can collapses:
- Inside the can, heating the water turns it into steam, which expands and forces most of the air out.
- When the can is flipped into cold water, the steam cools almost instantly and condenses back into liquid water.
- This sudden change leaves the inside of the can with very low air pressure.
- The air pressure outside the can (about 14.7 pounds per square inch at sea level) is now much stronger than the pressure inside, so it crushes the can instantly.
It’s not magic — it’s physics. The air around you is a lot stronger than you think.
Why it’s amazing:
Think about this: the air that you breathe every second has enough force to crush a metal can if the pressure inside is lowered. You don’t feel this crushing force because the air inside your body pushes back equally, keeping you safe. But when you remove that balance, as you did with the can, you can see just how powerful air really is.
Kid-friendly connection:
This is like when you suck the air out of a plastic bottle — it starts to collapse. The only difference is that here, you didn’t have to suck the air out yourself — cooling steam did the job for you!
Experiment 3 – The Egg in a Bottle
What you need:
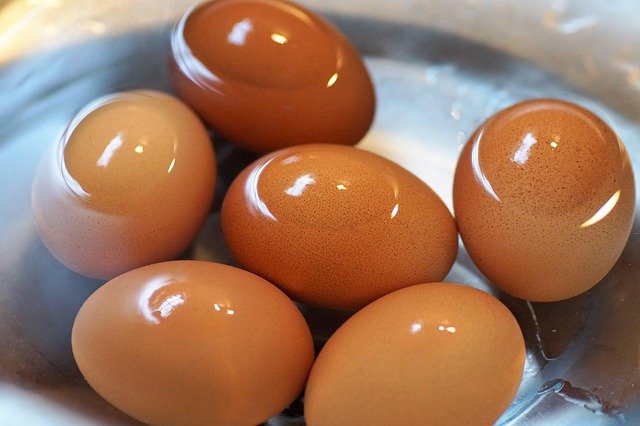
- A hard-boiled egg (peeled)
- A glass bottle or jar with an opening slightly smaller than the egg (a milk bottle works well)
- A small piece of paper
- Matches or a lighter (adult help needed!)
What to do:
- First, make sure the hard-boiled egg is just a bit bigger than the bottle’s opening — so it won’t fall in on its own.
- Light the small piece of paper (ask an adult to do this) and drop it into the bottle.
- Quickly place the egg on top of the bottle’s opening.
- Watch as the egg wiggles and then gets pulled into the bottle!
What’s happening:
When you drop the burning paper into the bottle, it heats up the air inside. Hot air takes up more space, so some of it escapes past the egg. But when the flame goes out, the air inside cools down. Cool air takes up less space, so the air pressure inside the bottle drops.
Now, the air pressure outside the bottle is stronger than the air pressure inside. That outside pressure pushes on the egg, forcing it into the bottle. The egg isn’t “sucked in” — it’s pushed in by the air around it!
Why This Is So Cool:
This experiment shows that air pressure can move solid objects — even something as big as an egg — without you touching it. You’re also seeing how temperature affects air: heat makes air expand, and cooling makes it contract.
Extra Challenge:
Once the egg is in the bottle, how do you get it back out without breaking it? The trick is to reverse the process. Turn the bottle upside down and blow air into it. This increases the air pressure inside, which pushes the egg back out. (Be careful — it might pop out quickly!
Experiment 4 – The Floating Glass
This one looks like a magic trick, but it’s all about the invisible push of air. You’ll make one glass “hold up” another, even though it looks like it should fall.
What you need:
- Two identical drinking glasses
- Water
- A thick piece of cardboard (slightly bigger than the mouth of the glass)
Step-by-step:
- Fill the first glass: Pour water into one of the glasses until it’s about three-quarters full.
- Cover the glass: Place the cardboard square on top of the glass, making sure it’s flat and covering the entire opening.
- Flip it over: Hold the cardboard in place with your hand, turn the glass upside down, and then remove your hand so the cardboard is held in place by air pressure (just like in the first experiment).
- The floating moment: Now, carefully place the mouth of the second empty glass against the bottom of the first (upside-down) glass. Slowly tilt them so the empty glass is directly underneath the water-filled one, with the cardboard still between them.
- Remove the cardboard: This is the fun part! Gently slide the cardboard away. You’ll see the top glass “floating” above the bottom glass, with the water staying in place.
What’s happening:
When the cardboard is removed, the air pressure outside the glasses pushes on the water, holding it in place. The shape of the glasses and the surface tension of the water create a seal between them, stopping the water from falling.
It works because the air pushing upward on the water is strong enough to balance the pull of gravity — at least for a little while. Eventually, air will sneak in and the water will drop, so this isn’t a permanent trick.
Why this is so cool:
It looks like magic because our eyes expect gravity to win. But once again, air pressure proves that it’s stronger than we usually think. This also shows how surface tension — the “skin” on the surface of water — can help hold things together.
Extra challenge:
Try using different amounts of water or different-sized glasses. You might notice that with less water, it’s easier to keep the glasses stuck together for longer. That’s because there’s less weight pulling down.
Experiment 5 – The Balloon in a Bottle

This one will really make kids curious. You’ll try to blow up a balloon inside a bottle — but it won’t work the way you expect until you understand the trick.
What you need:
- A plastic bottle (about 1–2 liters)
- A balloon
- A sharp object to poke a hole (like a skewer or pen tip) — adult help needed
Step-by-step:
- Insert the balloon: Push the open end of the balloon into the bottle’s neck and stretch the balloon’s lip over the opening so it’s sealed tightly.
- Try blowing it up: Put your mouth on the balloon opening (still attached to the bottle) and blow. You’ll find it’s almost impossible to inflate the balloon inside the bottle.
- Make a small hole: With an adult’s help, poke a small hole in the side of the bottle. Now try blowing again — the balloon inflates easily!
What’s happening:
When you try to blow up the balloon without the hole, the air inside the bottle has nowhere to go. The existing air pushes back against the balloon, stopping it from expanding.
When you make the small hole, the trapped air can escape as you blow. This lets the balloon fill up because there’s no air pressure pushing against it anymore.
Why this is so cool:
This experiment shows that air takes up space and can push back with surprising force. The first time you try it, it feels like the balloon is “stuck” — but it’s really the air inside the bottle refusing to move out of the way.
Extra challenge:
Cover the hole with your finger after blowing the balloon up inside the bottle. The balloon will stay inflated because air pressure from outside is holding it in place!
Experiment 6 – The Paper That Won’t Fall
This is one of the simplest air pressure experiments you can do, but it still feels like a magic trick. All you need is a glass, a small piece of paper, and some air.
What you need:
- A drinking glass (not too heavy)
- A piece of stiff paper or thin cardboard (slightly bigger than the mouth of the glass)
- Water
Step-by-step:
- Fill the glass: Pour water into the glass until it’s about three-quarters full.
- Cover it with paper: Place the piece of paper over the top of the glass, making sure it covers it completely.
- Flip it over: Hold the paper in place with your hand, turn the glass upside down, and then remove your hand from the paper.
- Watch the magic: The paper stays in place, holding the water inside the upside-down glass!
What’s happening:
The air around you is pressing in all directions — including upward. In this experiment, the air pressure pushing upward on the paper is greater than the downward pull of gravity on the water. That’s why the paper stays in place, keeping the water from spilling.
Why this is so cool:
It feels like the paper is “sticking” to the glass, but it’s really the invisible push of air holding it there. This is the same principle engineers use when designing suction cups and certain types of seals.
Extra challenge:
Try the experiment with different amounts of water or with different kinds of paper. You might find that a heavier paper works better because it doesn’t bend as easily, keeping a good seal on the glass.
Experiment 7 – The Glass Lifter
In this trick, you’ll make a glass stick to a plate or card so well that you can lift it without holding the glass itself. It’s a great way to surprise friends and show just how strong air pressure can be.
What you need:
- A sturdy drinking glass
- A balloon
- A small, flat plate or stiff piece of cardboard
Step-by-step:
- Prepare the balloon: Inflate the balloon just a little, so it’s smaller than your fist, and tie the end.
- Place the glass: Put the balloon on top of the plate or cardboard, then place the glass over the balloon so the opening of the glass rests on the balloon’s surface.
- Press and lift: Gently press the glass down so the balloon seals tightly against it, then slowly lift the plate/cardboard by holding only the glass.
- Watch the lift: The plate or cardboard comes up with the glass, as if they’re stuck together by magic.
What’s happening:
Pressing the glass onto the balloon forces the air out from between them, creating a partial vacuum. Now, air pressure around the outside is pushing the plate/cardboard upward against the glass, holding them together.
This is the same principle suction cups use — by removing some air between two surfaces, you let outside air pressure do the holding for you
Why this is so cool:
You’re not using glue, tape, or magnets — just the invisible force of air! It’s a safe and fun way to demonstrate how powerful atmospheric pressure really is.
Extra challenge:
See how heavy a plate or object you can lift this way. Try different balloon sizes and glass shapes to find the strongest “seal.”
How Debsie Helps Kids Understand Air Pressure
Air pressure is a tricky thing to teach because kids can’t see it. They can feel the wind, but they can’t see the invisible push of the atmosphere. That’s why at Debsie, we make it visible, touchable, and unforgettable through hands-on science learning.
Our approach goes beyond reading facts — we turn every lesson into an experiment, a story, or a real-world example kids can connect with instantly. Here’s how we make it work:
1. Turning the Invisible into Something Real
Kids learn best when they can see a concept in action. Our teachers don’t just explain “air pressure pushes on everything” — they show it.
- A can crushing itself when cooled
- A balloon being “pulled” into a bottle
- Water staying in an upside-down glass
Once they see it happen in front of them, they believe it, and they remember it.
2. Lessons for All Ages
Debsie works with children from 5 to 18, so we adapt experiments and explanations to match each age group.
- For younger kids: Simple activities, big reactions, and colorful props keep them engaged.
- For older students: We go deeper into the science, exploring concepts like atmospheric pressure, molecules, and temperature effects.
3. Linking to Real-Life Examples
We constantly connect experiments to the real world:
- Why your ears pop when you go up a hill
- How weather changes are linked to air pressure
- Why airplanes need air pressure to fly
When kids see that the same science is at work in their daily lives, they realize learning isn’t just for the classroom — it’s for life.
4. Encouraging Curiosity and Confidence
Every experiment is an opportunity for kids to ask, “What will happen if I try this?” We encourage them to test, tweak, and repeat experiments to see if they get the same results. This builds problem-solving skills, patience, and the confidence to figure things out independently.
5. Making Learning Fun and Global
Debsie’s classes bring together kids from around the world. When a child in Canada shares how cold weather changes air pressure in tires, and a child in India talks about monsoon winds, science becomes a global conversation.
Conclusion
Air pressure may be invisible, but its effects are everywhere — from the way weather changes, to how planes fly, to why your ears pop in the mountains. With just a few simple kitchen experiments, kids can see this hidden force in action, turning science from an abstract idea into something they can touch, test, and truly understand.
At Debsie, we make that transformation happen every day. Our partner teachers turn tricky concepts like air pressure into moments of wonder — moments when a child’s eyes widen, a smile spreads across their face, and they say, “I get it now!” Through live interactive lessons, home-friendly experiments, and real-world examples, we help children build not just knowledge, but confidence, curiosity, and problem-solving skills that last a lifetime.
Science isn’t just about facts — it’s about discovery. And when kids discover for themselves that the invisible air around them can crush a can, hold up water, or move an egg into a bottle, they’re not just learning — they’re experiencing the magic of how the world works.
🌟 Give your child the gift of curiosity. Sign up for a free trial class at Debsie.com today — and watch science come alive in their hands.
Read Next: