

Have you ever noticed how kids’ eyes light up when something bubbles, changes color, or glows in the dark? That’s the magic of chemistry. It turns ordinary things—like vinegar, baking soda, or dish soap—into tiny adventures. And the best part is, you don’t need a fancy lab or expensive tools to explore it. The kitchen or living room can become the perfect laboratory.
Chemistry is not about memorizing big words. It’s about asking what happens if… and then seeing the answer with your own eyes. When children try safe experiments at home, they don’t just learn science—they experience it. They become little scientists, testing, observing, and having fun.
In this article, we’ll walk through a collection of simple, safe, and exciting experiments that kids can do with everyday household items. Each one is designed to spark curiosity, teach a real scientific idea, and leave your child amazed at what they can discover.
Experiment 1: The Baking Soda and Vinegar Volcano
This is perhaps the most famous home chemistry experiment, and for good reason. It’s safe, it’s simple, and it never fails to impress. Imagine building your own tiny volcano that suddenly erupts with bubbling, foamy “lava.” It feels like magic, but it’s really science at work.
What You’ll Need
- Baking soda (a few spoonfuls)
- Vinegar (about half a cup)
- A small container or cup
- Dish soap (optional, for extra bubbly lava)
- Food coloring (optional, for dramatic red or green lava)
- A tray or big plate (to catch the mess!)
Step-by-Step Instructions
- Place your container on the tray. This is your volcano’s “crater.”
- Add a couple of spoonfuls of baking soda into the container.
- For extra fun, add a few drops of dish soap and food coloring. The dish soap makes the eruption foamier, and the coloring makes it look like real lava.
- Now, slowly pour vinegar into the container and step back.
- Watch the bubbly lava spill out!
The Science Behind the Volcano
So, what’s really happening here? Baking soda is a base, and vinegar is an acid. When the two meet, they react and form carbon dioxide gas. This gas quickly builds up and escapes, creating the fizzing and bubbling you see. The dish soap just helps trap the gas in bubbles, making the eruption more dramatic.
This is a great way to show kids how acids and bases interact. It’s not just messy fun—it’s a real chemical reaction they can see and hear.
How to Make It Even More Fun
- Build a volcano shape: Use clay, playdough, or even paper to make a volcano model around the container. Then your eruption will look more realistic.
- Experiment with amounts: Try using more vinegar, or less baking soda, and watch how the reaction changes. Which one makes a bigger eruption?
- Try other acids: Lemon juice also works instead of vinegar. Does it make the eruption stronger or weaker?
By experimenting, kids learn that science isn’t about doing something once—it’s about testing and asking questions.
Experiment 2: The Magic Milk Experiment
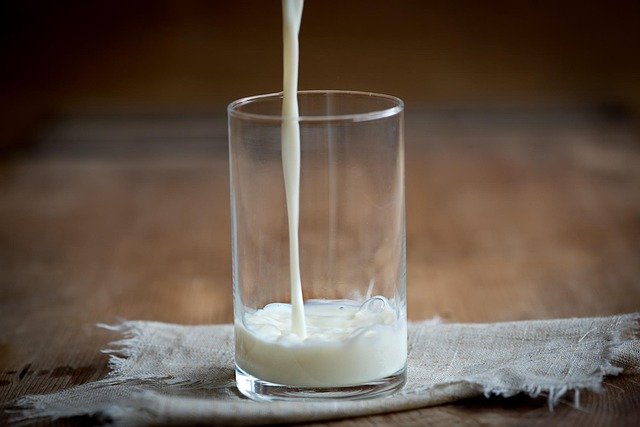
If you’ve ever wanted to turn ordinary milk into a swirling rainbow, this experiment is for you. It’s safe, quick, and full of “wow” moments. The best part? It teaches kids how molecules interact in ways they can actually see.
What You’ll Need
- A shallow dish or plate
- Whole milk (it works best with full-fat milk)
- Food coloring (2–3 different colors)
- Dish soap
- Cotton swabs
Step-by-Step Instructions
- Pour milk into the shallow dish until the bottom is just covered.
- Add drops of food coloring in different spots. Don’t stir—just let the colors sit on the surface.
- Dip a cotton swab into some dish soap.
- Touch the soapy swab gently to the surface of the milk.
- Watch as the colors race away and swirl together like magic!
The Science Behind the Magic
Milk isn’t just water. It contains fats and proteins, too. When you touch the milk with dish soap, the soap molecules rush to connect with the fat molecules in the milk. This movement disrupts the surface, and the food coloring makes it visible by swirling around dramatically.
It’s like a colorful dance showing you how soap works to break down fats. This is the same reason dish soap helps wash greasy plates. Kids don’t just see color—they see chemistry in action.
Ways to Explore Further
- Try different milks: Use skim milk, almond milk, or cream and compare the results. Does the swirl look stronger with more fat?
- Use different soaps: What happens if you use hand soap or shampoo instead of dish soap?
- Change temperatures: Try warm milk versus cold milk. Do the colors move differently?
Each variation turns into a mini-investigation, showing kids how scientists ask “what if” and then test their ideas.
Why Kids Love This Experiment
The colors move quickly and beautifully, almost like a painting coming alive. It’s fun to watch, easy to do, and deeply satisfying. At the same time, it gives kids an early look at how molecules behave, teaching them that even simple liquids hide amazing secrets.
Experiment 3: The Fizzing Lemon Volcano
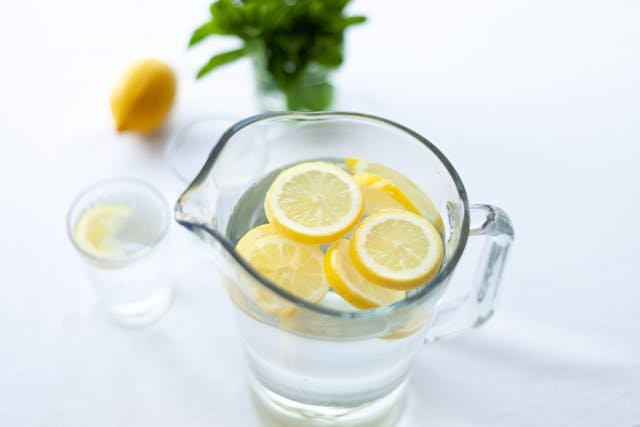
Lemons are sour, juicy, and perfect for drinks. But did you know they can also erupt like a tiny volcano? This experiment is safe, fun, and a great way for kids to see acid–base reactions right in their kitchen.
What You’ll Need
- 1 or 2 fresh lemons
- A knife (adult help needed to cut)
- Baking soda
- Food coloring (optional, to make it look like lava)
- A spoon
Step-by-Step Instructions
- Ask an adult to cut the top off the lemon so the inside is exposed.
- Use a spoon to gently mash the inside of the lemon, releasing some juice.
- Add a few drops of food coloring if you want your eruption to look more dramatic.
- Sprinkle a spoonful of baking soda onto the lemon’s surface.
- Watch the fizzing and bubbling as the lemon juice and baking soda react!
If you want a bigger eruption, you can tilt and squeeze the lemon a little to mix the juice with the baking soda.
The Science Behind the Lemon Volcano
Lemon juice is full of citric acid, which gives lemons their sour taste. When baking soda (a base) touches the acid, a chemical reaction happens. It releases carbon dioxide gas, which you see as bubbles and fizz.
It’s the same kind of reaction you saw in the baking soda and vinegar volcano—but here, the lemon provides the acid. This experiment shows that many everyday foods have hidden chemistry inside them.
How to Explore More
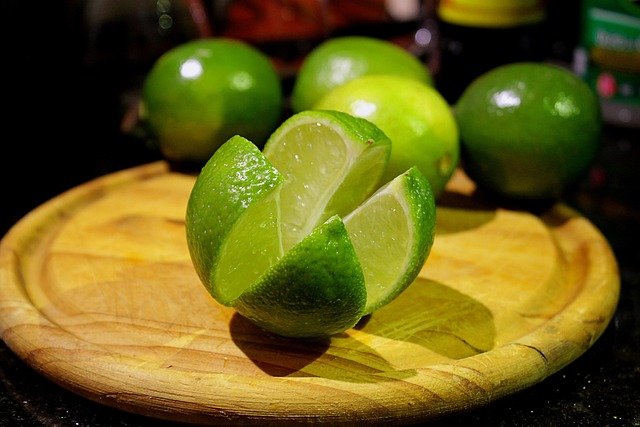
- Try using other citrus fruits like oranges, limes, or grapefruits. Do they fizz more or less than lemons?
- Add a little extra vinegar to the lemon to boost the reaction.
- Compare what happens if you use powdered sugar instead of baking soda. Does anything change?
Each variation helps kids see that not all fruits or reactions are the same—and that testing ideas is a key part of science.
Why This Experiment Is Amazing for Kids
The lemon volcano is small but powerful. Kids love watching a plain piece of fruit suddenly erupt with color and bubbles. It’s a wonderful way to show that science isn’t separate from daily life—it’s right there in the food we eat.
Experiment 4: Glowing Science with Tonic Water
Have you ever seen something glow in the dark under a blacklight? That magical blue glow isn’t just for parties—it’s science at work. With just a bottle of tonic water and a UV “blacklight,” you can create your very own glowing experiment at home.
What You’ll Need
- A bottle of tonic water (clear, not flavored)
- A UV blacklight (these are safe and inexpensive)
- A clear glass or bowl
Step-by-Step Instructions
- Pour some tonic water into a clear glass or bowl.
- Turn off the lights in the room to make it dark.
- Shine the blacklight onto the tonic water.
- Watch as the liquid glows a bright, eerie blue!
The Science Behind the Glow
Tonic water contains a chemical called quinine. Quinine has a special property: it absorbs invisible ultraviolet (UV) light from the blacklight and re-emits it as visible blue light. This process is called fluorescence.
Unlike glow-in-the-dark stickers (which store light and release it later), fluorescence only works when UV light is shining. As soon as you turn off the blacklight, the glow disappears.
How to Explore Further
- Try pouring tonic water into different shapes of glasses or bottles to see how the glow changes.
- Mix tonic water with regular water in different ratios—does the glow get brighter or dimmer?
- Shine the blacklight on other objects around your home. Some laundry detergents, white paper, and even highlighters glow because they contain fluorescent materials.
Why Kids Love This Experiment
The glow is immediate, magical, and unexpected. Kids are amazed to see a normal drink suddenly turn into something that looks alive in the dark. And once they learn the science behind it, they realize glowing isn’t magic—it’s chemistry and physics working together.
Experiment 5: Secret Messages with Invisible Ink
Imagine writing a message that no one can see—until you reveal it with heat. That’s exactly what you can do with invisible ink. All you need is lemon juice, a little heat, and curiosity.
What You’ll Need
- A lemon (or bottled lemon juice)
- A small bowl and spoon
- A cotton swab, paintbrush, or even a toothpick
- White paper
- A lamp or iron (adult help needed for heat)
Step-by-Step Instructions
- Squeeze the lemon into the bowl and add a tiny bit of water. Stir it well.
- Dip your cotton swab or paintbrush into the juice.
- Use it to write a secret message or draw a picture on the paper. It will look invisible once it dries.
- Ask an adult to gently heat the paper using a lamp bulb or by pressing lightly with a warm iron.
- Watch as your secret message slowly appears in brown writing!
The Science Behind Invisible Ink
Lemon juice contains carbon-based compounds. When you apply heat, these compounds break down and release carbon, which turns brown. That’s why the hidden letters or pictures become visible.
This process is called oxidation. It’s the same kind of change that makes bread turn brown in a toaster or apples turn brown when left out in the air.
How to Explore Further
- Try other juices like orange juice, vinegar, or even milk. Which one works best for invisible ink?
- Test different heat sources. Does the message appear faster under a lamp or with an iron?
- Write two messages on the same page with different liquids, then see if they reveal differently.
Why Kids Love This Experiment
Kids feel like spies when they write hidden notes and reveal them later. It combines creativity with science, making it one of the most exciting and interactive experiments. At the same time, they’re learning about oxidation, chemical change, and how heat transforms matter.
Experiment 6: Elephant’s Toothpaste
If you’re looking for an experiment that will leave kids amazed, this is the one. Elephant’s Toothpaste is a foamy explosion that looks like a giant squeezed an enormous tube of toothpaste. It’s safe, colorful, and incredibly fun to watch—plus, it’s a great way to learn about chemical reactions.
What You’ll Need (and Why You Need Them)
- A clean plastic bottle: This will be your “toothpaste tube.” A small soda bottle works perfectly because it’s sturdy and tall enough to hold the reaction.
- ½ cup of hydrogen peroxide (3%): This is the main ingredient. Hydrogen peroxide naturally breaks down into water and oxygen gas, but it does so very slowly on its own.
- 1 tablespoon of dish soap: This traps the oxygen gas in bubbles, turning it into thick foam instead of letting the gas escape into the air.
- Food coloring (optional): This makes the foam look like colorful toothpaste. You can add stripes or drops of different colors for extra fun.
- 1 packet of dry yeast: This is the “secret helper.” Yeast acts as a catalyst, which means it speeds up the breakdown of hydrogen peroxide.
- 3 tablespoons of warm water: Warm water wakes up the yeast so it can work faster.
- A tray or a baking pan: The foam will overflow, so you need something to catch the mess.
Step-by-Step Instructions
- Prepare the bottle: Place your bottle in the center of the tray so it can catch all the foam.
- Add the hydrogen peroxide: Pour the hydrogen peroxide into the bottle. Be careful not to spill. This is the ingredient that will release the oxygen gas.
- Mix in dish soap: Add one tablespoon of dish soap directly into the bottle. Swirl it gently. This soap is what creates the thick, frothy foam. Without it, the reaction would just produce bubbles of gas you couldn’t see.
- Add food coloring: If you want your foam to look like real toothpaste, drip food coloring down the sides of the bottle. When the foam erupts, it will carry the colors upward, creating stripes.
- Prepare the yeast mixture: In a small cup, stir one packet of yeast with three tablespoons of warm water. Stir well for 30 seconds until the yeast dissolves. The warm water helps the yeast “wake up” and get ready for action.
- Pour and watch the magic: Carefully pour the yeast mixture into the bottle. Step back immediately. In just seconds, thick foam will shoot out of the bottle, spilling down the sides like a toothpaste eruption.
The Science Behind the Foam
Hydrogen peroxide (H₂O₂) naturally breaks down into water (H₂O) and oxygen gas (O₂). Normally, this reaction happens very slowly. But when yeast is added, it acts as a catalyst—a helper that speeds up the reaction without being used up itself.
The rapid release of oxygen gas gets trapped in the dish soap, creating millions of tiny bubbles. This forms the foam that bursts out of the bottle. Because the reaction also releases heat, the foam feels warm if you touch it carefully. This makes Elephant’s Toothpaste an example of an exothermic reaction.
How to Experiment More
This activity isn’t just about watching—it’s about experimenting. Encourage kids to test different variations:
- Use different amounts of yeast. More yeast makes the foam appear faster.
- Try cold versus warm hydrogen peroxide. Which one reacts faster? (Hint: warm usually speeds things up.)
- Experiment with different bottle sizes. A tall, narrow bottle makes the foam shoot higher, while a wide one creates more spreading foam.
- Try multiple colors of food coloring. Add red, blue, and yellow drops at different spots to make rainbow foam.
Each variation helps kids see how changing variables affects a reaction, just like real scientists do.
Why Kids Love Elephant’s Toothpaste
This experiment has everything kids enjoy—bright colors, fizzy foam, and a big “wow” factor. It’s safe, but it feels dramatic, like a real science show. And because it’s easy to set up, kids can try it again and again while experimenting with different results.
Most importantly, it teaches key science ideas: how catalysts work, how gases can be trapped in bubbles, and how chemical reactions release energy. It’s fun on the outside but full of real learning underneath.
Experiment 7: The Science of Slime
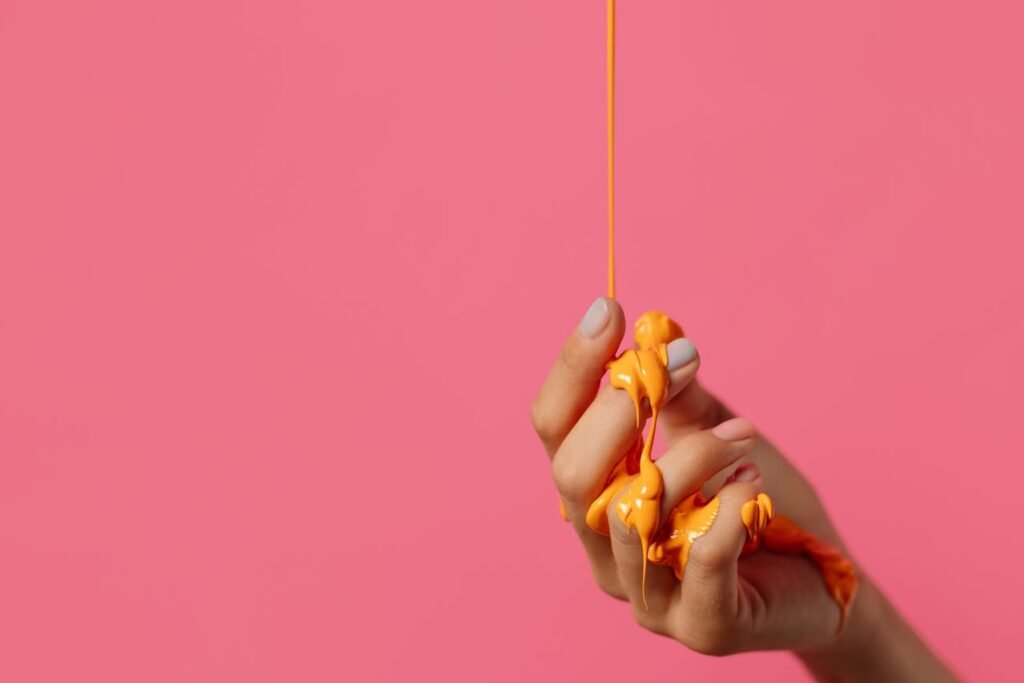
Slime is more than just a gooey toy—it’s chemistry you can hold in your hands. By mixing everyday ingredients, kids can create a stretchy, squishy material that behaves somewhere between a solid and a liquid.
What You’ll Need
- ½ cup of white school glue
- ½ cup of water
- Food coloring (optional, for colorful slime)
- Glitter (optional, for sparkle)
- 1 teaspoon of baking soda
- 1 tablespoon of contact lens solution (must contain boric acid or borax)
- A bowl and spoon
Step-by-Step Instructions
- Mix the glue and water. Pour the glue into a bowl and stir in the water until smooth. This makes the slime base.
- Add extras. If you want colorful or sparkly slime, add a few drops of food coloring or glitter and stir well.
- Add baking soda. Sprinkle in the baking soda and stir again.
- Activate with contact solution. Add one tablespoon of contact lens solution and stir quickly. The slime will begin to pull away from the bowl and form a sticky lump.
- Knead the slime. Pick it up and knead it with your hands until it feels stretchy and less sticky.
And there you have it—slime!
The Science Behind Slime
Slime works because of polymers. A polymer is a long chain of repeating molecules, kind of like beads on a necklace. White glue contains a polymer called polyvinyl acetate. On its own, the glue is sticky and runny.
When you add the contact solution (which contains boric acid or borax), it causes the polymer chains in the glue to link together. This process is called cross-linking. Instead of flowing freely like liquid glue, the chains now hold onto each other, creating a stretchy, bouncy material—slime.
That’s why slime feels different from either glue or water. It’s a new material with its own unique properties.
How to Explore Further
- Experiment with textures. Add small beads for crunchy slime or shaving cream for fluffy slime.
- Compare recipes. Try slime with more or less contact solution. Does it become stretchier or stiffer?
- Test elasticity. Stretch the slime slowly, then pull it apart quickly. Notice how it behaves differently depending on the force you use.
These variations help kids see that small changes in ingredients can completely change the properties of a material.
Why Kids Love Slime
Slime is satisfying to stretch, squish, and play with. But beyond the fun, it shows kids the power of polymers—materials that make up much of the world around us, from plastics to rubber bands to even the DNA in our bodies.
By making slime, kids aren’t just creating a toy—they’re exploring the building blocks of modern materials.
How Debsie Helps Kids Learn Through Experiments
At Debsie, we believe that every child learns best when science feels alive and exciting. That’s why our teachers use simple, hands-on experiments—like bubbling volcanoes, glowing liquids, or foamy eruptions—to turn curiosity into real understanding. In every class, kids don’t just watch; they explore, ask questions, and discover the “why” behind the “wow.” This is how Debsie helps children grow smarter, more confident, and eager to learn—not only in science, but in every subject.
Science That Feels Like Play
At Debsie, we believe science should never feel like memorizing a textbook. It should feel like play—fun, curious, and hands-on. When children create a volcano from baking soda and vinegar or watch colors swirl in milk, they’re not just doing activities. They’re experiencing real chemistry. By making experiments safe and simple with household items, Debsie teachers ensure that kids can see, touch, and explore science for themselves.
Building Skills That Last Beyond Science
Each experiment teaches more than just chemistry. When kids wait for slime to form or watch foam rise in Elephant’s Toothpaste, they learn patience. When they test glow sticks in hot and cold water, they practice problem-solving. When their invisible ink doesn’t show up right away, they build resilience by trying again. These are life skills—focus, creativity, and confidence—that help children succeed not only in school but in everyday life.
Guided by Expert Teachers
What makes Debsie different is how our teachers guide children through the “why” behind the “wow.” A child may see bubbles in a lemon volcano, but a Debsie teacher helps them understand that it’s carbon dioxide gas. A child may enjoy glowing tonic water, but a Debsie teacher explains fluorescence in simple words. This guidance transforms fun activities into real learning. Kids don’t just enjoy experiments—they understand them deeply.
Curiosity That Spreads to Every Subject
The excitement of science often sparks curiosity in other subjects, too. A child fascinated by glowing experiments may later want to learn about physics of light. A child who enjoys writing with invisible ink may ask about history and how spies used secret codes. At Debsie, we connect these sparks of curiosity across math, coding, history, geography, and more, so children see learning as one big adventure.
The Debsie Difference
Safe and fun chemistry experiments are just the beginning. At Debsie, we nurture explorers. We create a space where mistakes are part of learning, questions are celebrated, and every child feels confident enough to try. With students from across the globe, Debsie is not just an online classroom—it’s a worldwide family of curious minds discovering how the world works.
👉 Want your child to experience this kind of joyful, hands-on learning? Book a free trial class at Debsie today and watch curiosity turn into confidence.
Conclusion – Turning Curiosity into Confidence
Safe chemistry experiments at home—whether it’s a fizzing lemon volcano, colorful magic milk, or glowing tonic water—show children that science is not distant or complicated. It’s right in their kitchen, in their glass of milk, in the air they breathe. These simple activities spark wonder, build curiosity, and give kids the joy of discovering answers with their own hands.
But the true power of these experiments goes beyond the foam and colors. They teach patience when children wait for reactions, problem-solving when they adjust ingredients, and resilience when something doesn’t work the first time. These are the very skills that help kids thrive in every subject and in life itself.
At Debsie, this is our mission—to take that spark of curiosity and turn it into lasting confidence. With expert teachers and playful, hands-on lessons, we help children see the world as a place full of discoveries waiting to be made. Because when kids realize that learning can be this fun, they don’t just study science—they fall in love with it.
👉 Ready to let your child’s curiosity shine? Book a free trial class at Debsie today and watch learning come alive.
Read Next:


